Online returns aren’t a small side task anymore. Many e-commerce brands see return rates around 20 to 25 percent, and apparel can run much higher, which means a big share of your revenue is literally coming back through the door.
That’s where Reverse Logistics comes in. In plain terms, it’s everything that happens after a customer sends an item back, from labels and carrier handoffs to receiving, inspection, restocking, refurbishment, and final disposition (resell, return to vendor, donate, or recycle).
When this process is messy, refunds slow down, labor costs rise, inventory gets stuck in limbo, and fraud slips through. On the other hand, an efficient returns workflow helps you move faster without guessing, so customers get quicker refunds, teams handle fewer touches, and sellable units get back online before they lose value.
This guide breaks down practical ways to set return rules, triage items on arrival, route products to the right outcome, and measure what matters. You’ll also see how returns connect to the rest of your operation, including picking, packing, and service expectations outlined in https://leanafy.com/order-fulfillment-guide/.
Start with a return policy that is clear, fair, and hard to abuse
Your return policy is the rulebook for customers and for your team. When it’s vague, customers guess, support tickets pile up, and refunds slow down. Then Reverse Logistics turns into a costly loop of emails, exceptions, and inventory stuck in limbo.
A good policy feels fair because it sets expectations upfront, and it’s hard to abuse because it closes the obvious loopholes. Most importantly, it gives your warehouse and support team something consistent to enforce, without making case-by-case promises they can’t keep.
Write it in plain language and place it where shoppers actually look
Don’t hide your rules in legal copy. Write like you’re explaining it to a friend, then repeat it in the places people make decisions: product pages, checkout, order confirmation emails, and a simple insert inside the package.
Spell out the “what happens if…” details that drive returns friction:
- Return window: “Returns accepted within 30 days of delivery,” or whatever you choose.
- Item condition rules: unused, tags on, original packaging, what counts as “worn” or “washed.”
- Refund timing: when the clock starts (drop-off date vs warehouse receipt), and typical processing time.
- Who pays shipping: free for defects, customer-paid for preference returns, or a flat label fee.
- Exchanges: allowed categories, how to request, and whether you ship the replacement first.
- Final sale items: list the categories, not just a blanket statement.
- How fees work: restocking fee rules, label deductions, and when fees do not apply.
Here’s a short copy-ready checklist you can paste into your policy draft:
- Window: ___ days from delivery
- Condition: unused, unwashed, tags/packaging required (exceptions: ___)
- Refund method: original payment or store credit options
- Refund timing: processed within ___ business days after ___
- Shipping cost: we cover ___, customer covers ___ (fee amount: ___)
- Exchanges: allowed for ___, not allowed for ___
- Final sale: items that can’t be returned: ___
- Fees: charged when ___, waived when ___
If you also sell subscriptions or have non-refundable payments, link customers to your formal terms and conditions so there’s one source of truth.
Use smart guardrails instead of harsh rules
Strict, angry-sounding policies can backfire. Instead, use gentle guardrails that protect margins without punishing good customers. Think of it like a seatbelt, it’s there for safety, not to make the ride uncomfortable.
A few controls that work well in practice:
- Targeted fees (not blanket fees): Keep trust by charging only where it’s reasonable, for example a $5 label fee for “changed my mind” returns, while defects stay free.
- Limit free returns for repeat returners: Give everyone a fair baseline, then reduce freebies if someone returns unusually often.
- Photo requirement for damage claims: Ask for quick photos of the item and packaging before issuing a replacement or refund.
- Block serial fraud patterns: Flag accounts with repeated “box arrived empty,” high-value swaps, or mismatched serial numbers.
- Category rules: Hygiene and safety categories (beauty, opened supplements, intimates) can have tighter conditions, as long as you explain why.
Keep the tone neutral: “To keep prices fair for everyone, we apply a small label fee on non-defective returns.”
When you apply fees or tighter checks, say it plainly at checkout. Surprises feel like punishment, clarity feels like policy.
Guide customers toward exchanges and store credit without pressure
Refunds cost you twice, you lose the sale, then you pay to process the return. Exchanges and store credit reduce that hit, and they can lower churn because the customer still gets a win.
Make the better option easy, not pushy:
- Instant exchange option: As soon as they start a return, offer “Swap for a different size/color” with a fast replacement ship.
- Size swap flow: Show in-stock variants right inside the return steps, so they don’t have to hunt.
- Bonus store credit: Offer a small boost (for example, extra credit) in exchange for choosing credit over a refund.
- Clear refund timelines: When customers know refunds take time, they often choose an exchange to get moving faster.
A smooth return experience also pays you back later. When customers feel treated fairly, they come back, even after a return. That’s the quiet upside of getting Reverse Logistics policy and process aligned.
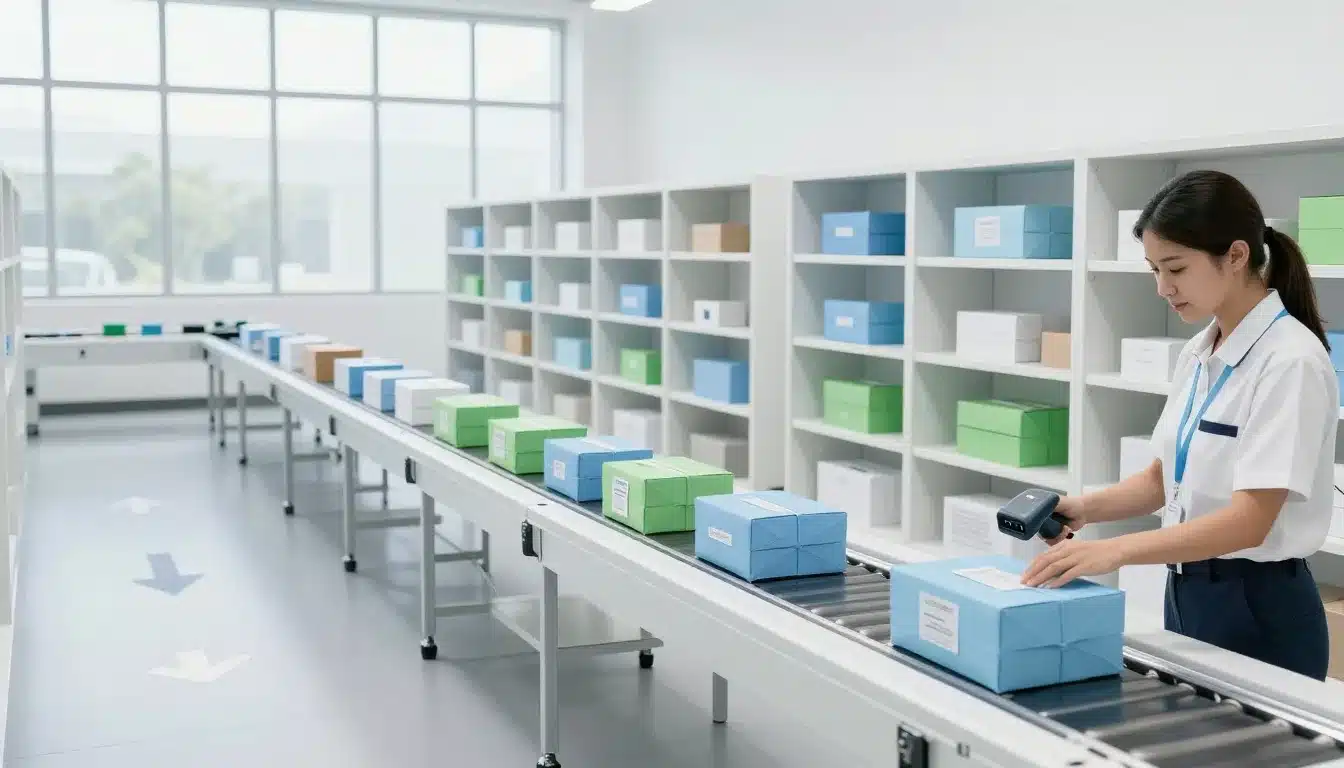
Build a return flow that is fast for customers and even faster for your warehouse
A good Reverse Logistics flow feels simple to the customer, but it runs like a well-marked highway in the back end. The goal is to move from request to refund with fewer steps, fewer touches, and fewer exceptions.
Speed matters because return value drops every day it sits. If sellable inventory stays in a “returns pile” for a week, you miss re-sales, burn labor, and create refund delays that drive tickets.
A fast return journey usually looks like this:
- Customer submits a return request and gets approved automatically (when eligible).
- Customer chooses a return method, then gets a label or QR code.
- Package moves through carrier intake and tracking updates.
- Warehouse receives and scans, then inspects and grades.
- System decides disposition (restock, refurb, quarantine, recycle).
- Refund or exchange completes once the right trigger happens (often scan-based).
Use a self-service return portal to cut tickets and errors
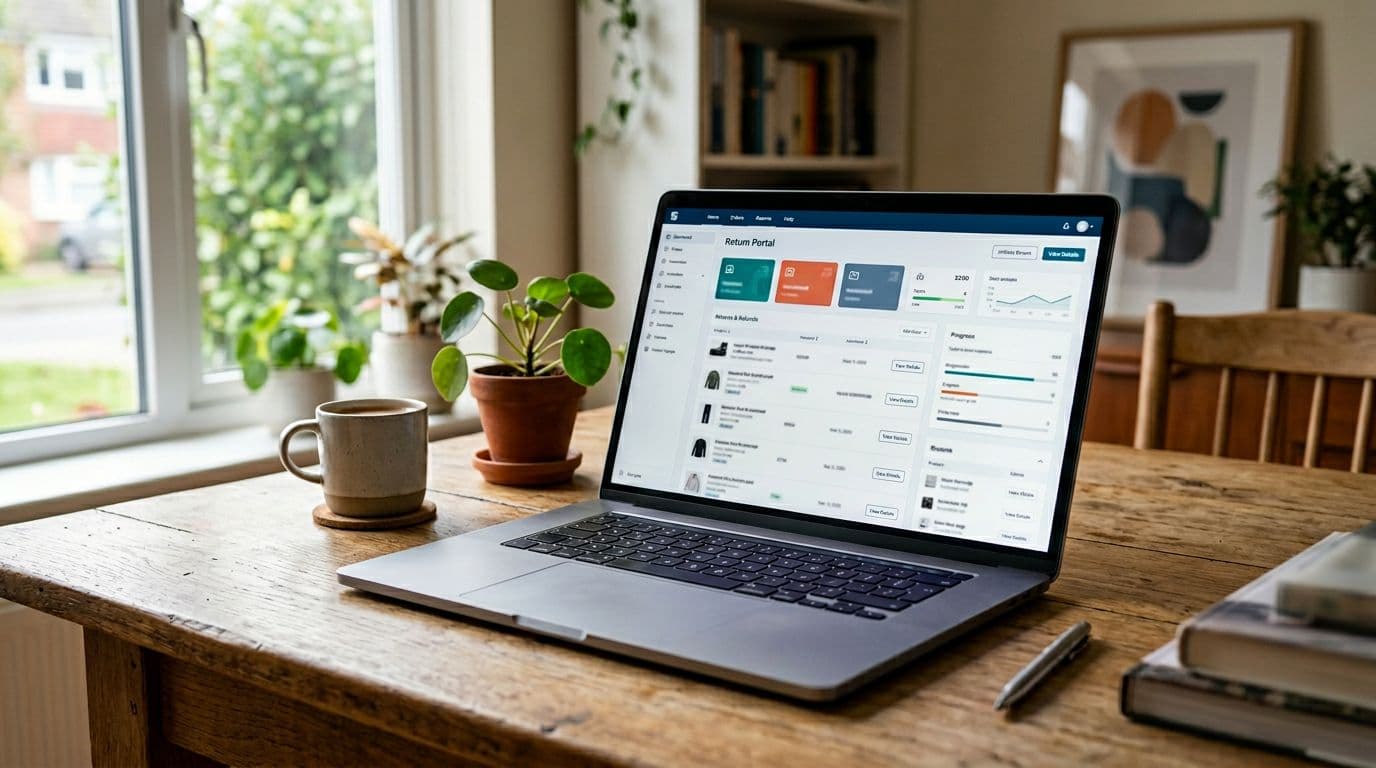
A self-service return portal is your first “touchless” win. Instead of emails and back-and-forth, customers follow one guided path that enforces your rules every time. Support gets fewer tickets, and the warehouse gets cleaner inbound returns.
A strong portal should handle the basics without human review:
- Eligibility checks: Confirms return window, final-sale rules, condition requirements, and order match before approval.
- Label generation or QR codes: Creates the right shipping option, or enables label-less drop-off where available.
- Drop-off options: Shows nearby drop points, carrier locations, and cutoffs, so customers pick what’s easiest.
- Reason codes with required fields: Collects structured “why,” plus photos for damage claims when needed.
- Exchange and store credit options: Makes swaps simple (size, color, replacement) and offers credit without pressure.
- Tracking and status updates: Displays “requested, dropped off, in transit, received, refunded,” so customers don’t ask you.
Reason codes are not just admin work. They’re field reports from customers. When you track them over time, patterns jump out fast, like “runs small,” “color mismatch,” “arrived damaged,” or “missing parts.” That data can drive product fixes, packaging upgrades, supplier conversations, and better listing photos. In other words, your return portal becomes a feedback engine, not a ticket generator.
If customers can’t see the return status, they’ll ask you. If they can, they won’t.
Decide on return methods: mail-in, drop-off, and pickup, and match them to product types
Return methods should fit the product, not just your default carrier. Pick the method that lowers friction for the customer while protecting margin and control for your team.
Here’s a practical way to match return methods to common categories:
- Small, low-risk items: Drop-off points tend to work best because they’re quick for customers and reduce label printing issues. When possible, use QR code, label-less returns to remove a step.
- Bulky or heavy items: Scheduled pickup often costs more, but it prevents damaged re-packs and abandoned returns. It also reduces “it’s too hard to ship” complaints.
- High-value items: Require signature, tighter tracking, and stricter identity checks. In addition, use serial number capture and stronger exception flags to reduce swaps.
- Fragile products: Favor methods that keep packaging intact, then provide clear packing guidance in the portal to reduce transit damage.
Carrier costs can quietly ruin an otherwise solid Reverse Logistics program, so negotiate on volume and lanes, not only list rates. Also, set routing rules so returns don’t all land at one building if you run multiple sites. Sending items to the closest processing point cuts transit time and helps you restock while demand is still hot. For operations building stronger warehouse processes overall, the principles in 3PL warehouse management with Leanafy WMS mirror what makes returns faster too: fewer manual steps and better tracking.
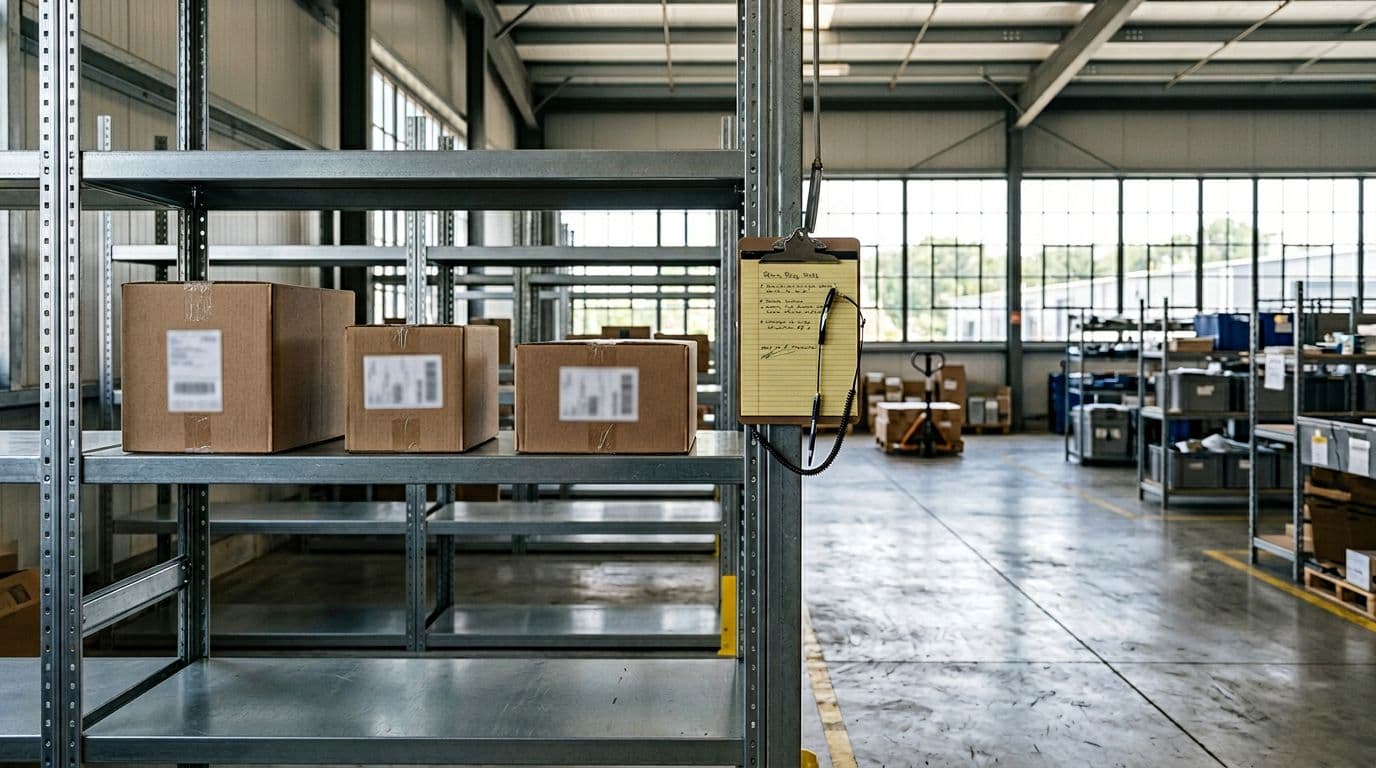
Set warehouse rules for receiving, inspection, and re-stocking within 24 to 48 hours
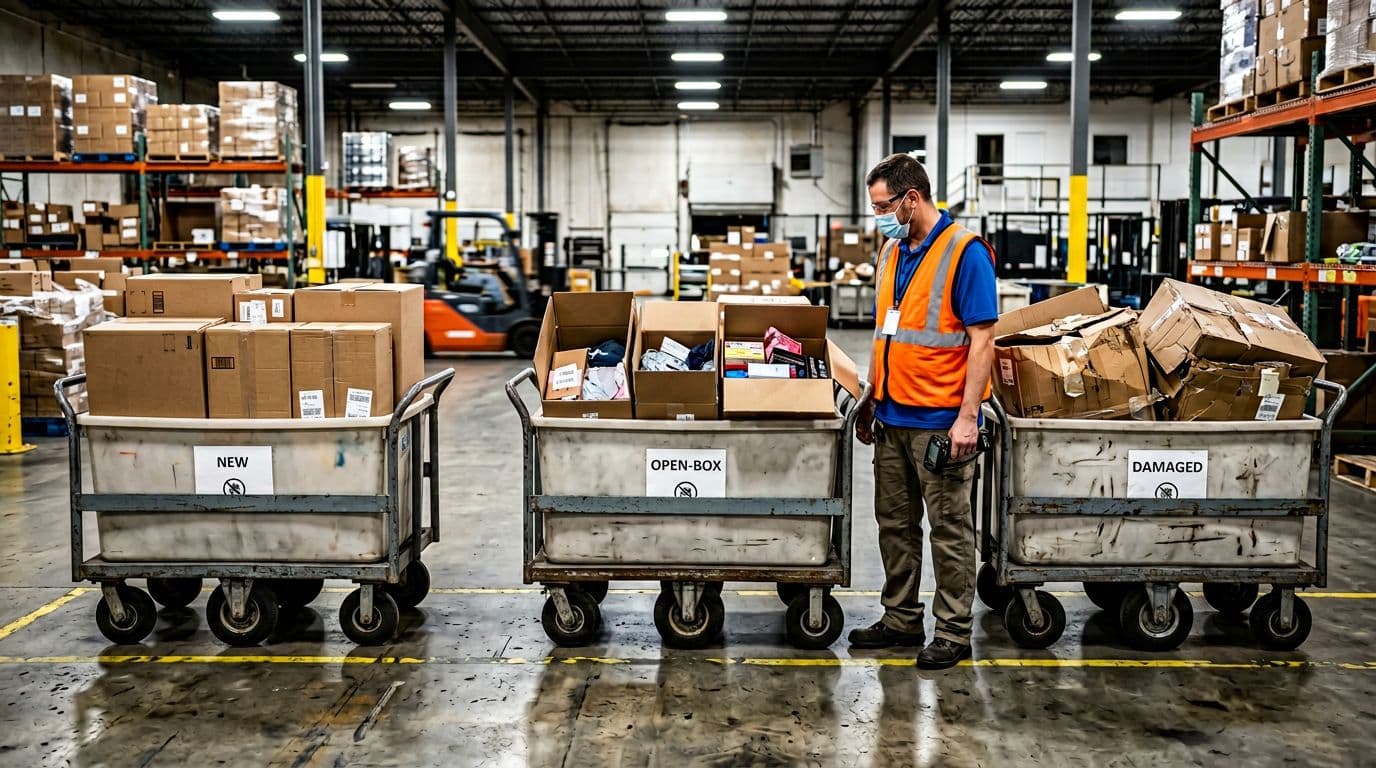
Once returns hit the dock, the warehouse sets the pace. The fastest teams follow a simple playbook and stick to it, because inconsistency creates arguments, rework, and slow refunds.
Use a tight “receive to decision” flow:
- Scan on arrival: Tie the package to the return record right away. This creates instant visibility.
- Grade condition consistently: Use a small set of grades (for example new, open-box, damaged) with written definitions.
- Decide disposition: Restock, refurbish, quarantine, RTV, recycle, or donate. Don’t let items sit while someone “figures it out.”
- Move to the right lane: Physically route each grade to a clear area so the next step is obvious.
Consistency in grading protects you. It reduces customer disputes, prevents “but last time you refunded me” complaints, and lowers retailer or payment chargeback risk when items are resold as new.
A few floor-level tweaks make a big difference:
- Set up a standard photo station for damage and condition proof (same angle, same lighting, same background).
- Use pre-printed bin labels for each disposition lane, so temps can’t invent new piles.
- Define simple SLAs like “scan same day,” “grade within 24 hours,” and “restock sellable within 48 hours.”
- Trigger refunds based on a clear event, such as “carrier acceptance” for low-risk items, or “received and graded” for higher-risk categories.
When receiving runs like a pit crew, inventory gets back online faster, and customers stop waiting on refunds. That’s the real win: fewer touches, faster decisions, and cash that doesn’t get stuck in the returns loop.
Make disposition decisions that recover the most value from every return
In Reverse Logistics, the goal is not just to accept returns, it’s to recover value. Every day a returned item sits in a tote, it gets harder to sell at a good price. The fix is simple: decide fast, move it to the right lane, and stop treating all returns the same.
A solid disposition process works like traffic control. You’re directing each unit to the best outcome based on condition, demand, and cost. That means fewer “we’ll deal with it later” piles, faster resale, and fewer margin-killing write-offs.
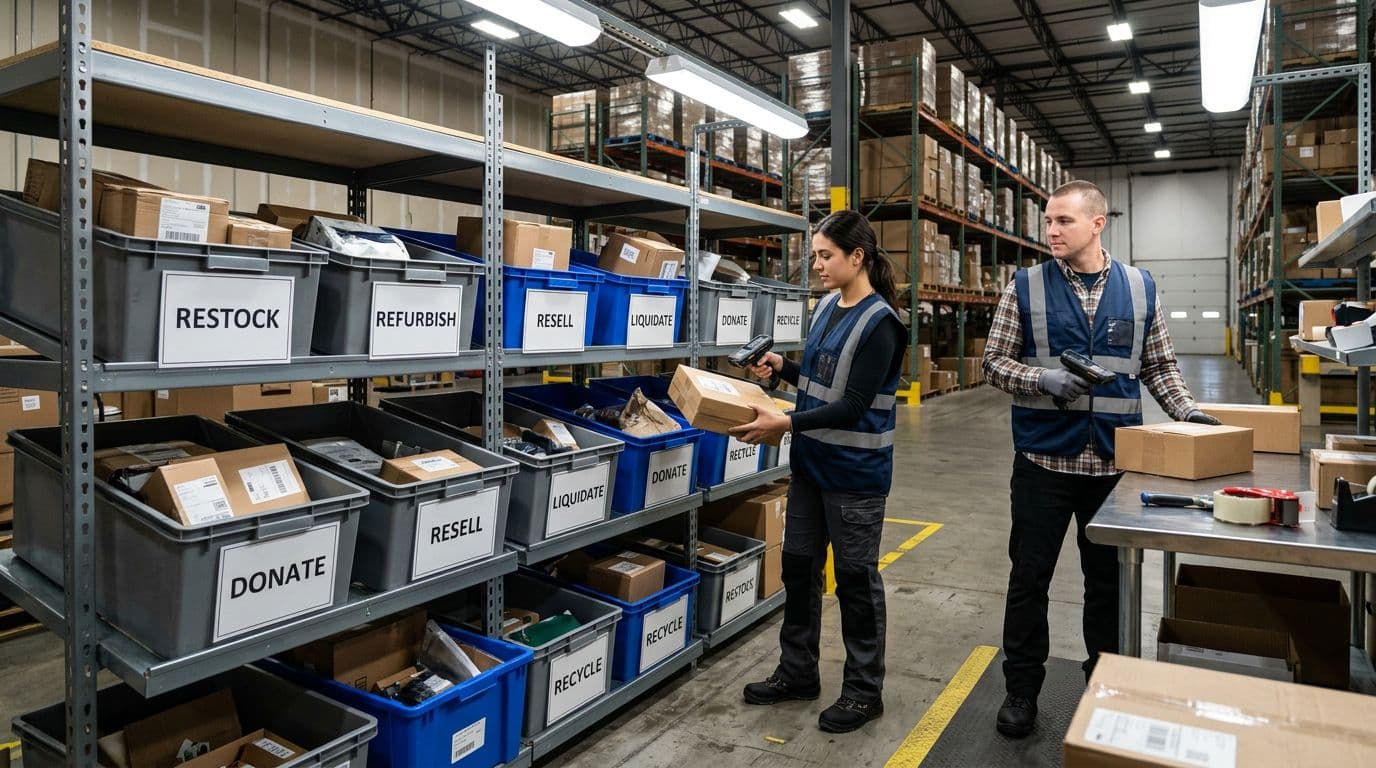
Use a simple disposition ladder: restock, refurbish, resell, liquidate, donate, recycle
Think of this like a ladder from highest value to lowest value. Start at the top, then step down only if you must.
- Restock: Put it back into sellable inventory as new. Do this when the item is unused, clean, complete, and you trust it can sell again without problems.
Rule of thumb: restock if it can sell at full price quickly. - Refurbish: Fix it so you can sell it again (repack, clean, replace missing parts, test, or re-bag). This is common for electronics and any “open-box” item.
Rule of thumb: refurbish if the margin supports the labor and parts. - Resell (as open-box): Sell it again, but clearly as returned or open-box, usually at a discount. This can be a strong middle path when the item is fine, but not “new.”
Key point: fast resale can recover a meaningful portion of value, especially when demand is high. - Liquidate: Move it in bulk to a liquidator or secondary channel to get cash back fast. You give up price, but you stop paying to store and handle it.
Rule of thumb: liquidate when holding costs are higher than recovery. - Donate: Give it to a charity partner if resale isn’t worth it, but the product still has use. This protects brand goodwill and can reduce waste.
- Recycle: Break it down responsibly when it’s damaged, unsafe, or unsellable. This is the final step when nothing else makes sense.
If your team debates an item for two minutes, you’re already losing money. Use simple rules, then move it.
Prevent value loss with better packaging, better routing, and better triage
Most value loss happens before inspection even starts. Items get scuffed in transit, sit too long in the wrong building, or wait behind low-priority returns.
Start with return-friendly packaging inserts. A simple insert can tell customers how to re-pack safely, what to include (all parts, tags, chargers), and how to seal the box. For fragile items, include a re-seal bag or protective wrap so the product doesn’t bounce around on the way back.
Next, route returns to the closest processing node. Shorter transit means faster grading, faster resale, and fewer customer “where’s my refund?” tickets. It also reduces damage, since long routes mean more handling.
Finally, use triage for high-demand SKUs so they jump the line. If something sells out weekly, treat its return like a hot lead, not a task for later.
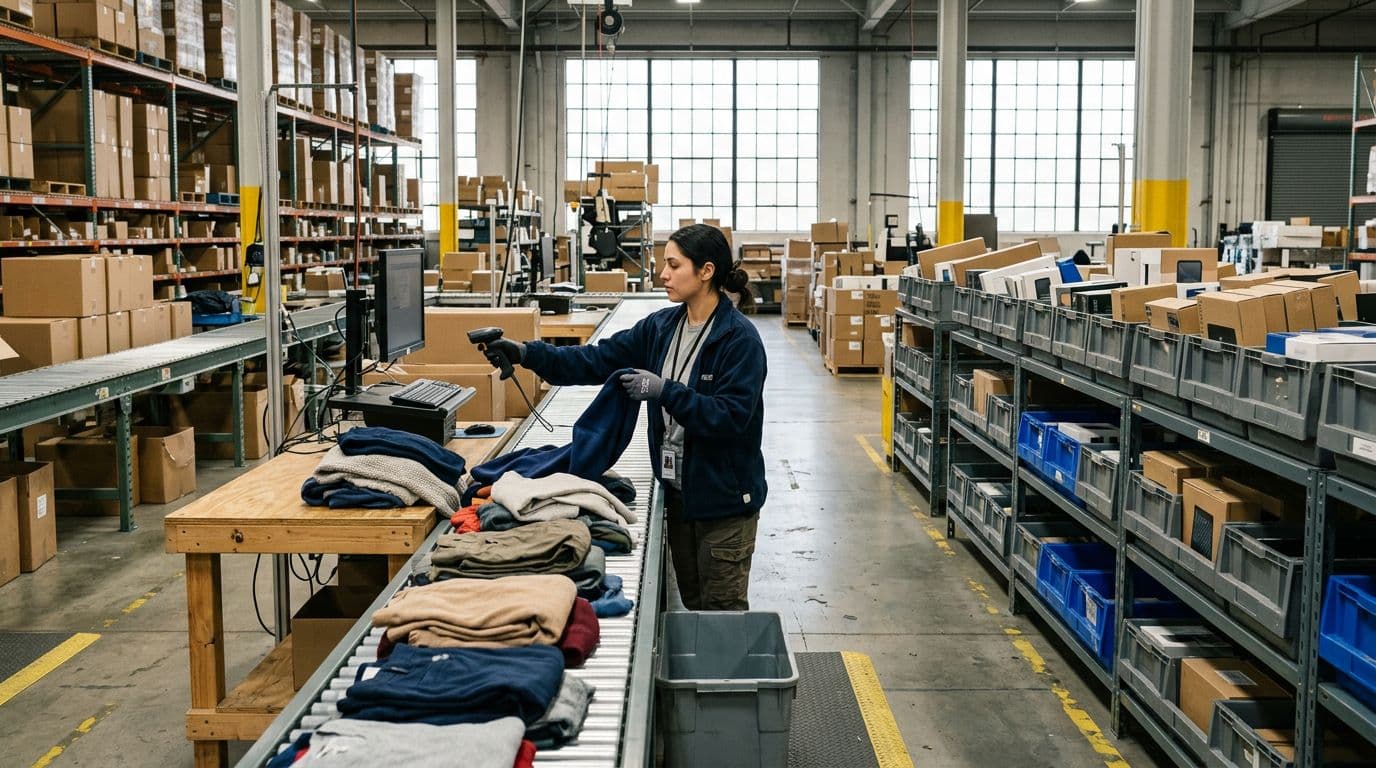
Example: During holiday season, returned apparel in popular sizes should get scanned, steamed, and reshelved fast. On the other hand, electronics need testing and serial checks, so send them to a controlled lane even if it takes longer.
Turn return reasons into prevention projects (so fewer items come back)
Return reason codes are your simplest roadmap to fewer returns. When you group them weekly, you can spot the top drivers fast: wrong size, poor fit, color not as expected, damaged in transit, and “not as described.”
Then treat each reason like a fixable project:
- Wrong size / fit: Improve size charts, add fit notes (runs small, relaxed fit), and include quick fit guidance on product pages.
- Color mismatch: Use better photos in natural light, show multiple angles, and call out finishes (matte vs glossy).
- Materials confusion: Make fabric and feel clear (thick, stretchy, sheer), and add close-up images.
- Picked wrong item: Tighten pick-pack checks with barcode scanning and clear variant labeling.
- Damaged in transit: Upgrade outbound packaging, add void fill, and reduce empty space in cartons.
Also watch for bracketing, when shoppers buy multiple sizes or colors planning to return most of them. You won’t erase it, but you can reduce it with better sizing info, fit tools, and exchange-first flows that make swaps easier than refunds. When fewer “guess orders” go out, fewer boxes come back, and your returns team finally gets breathing room.
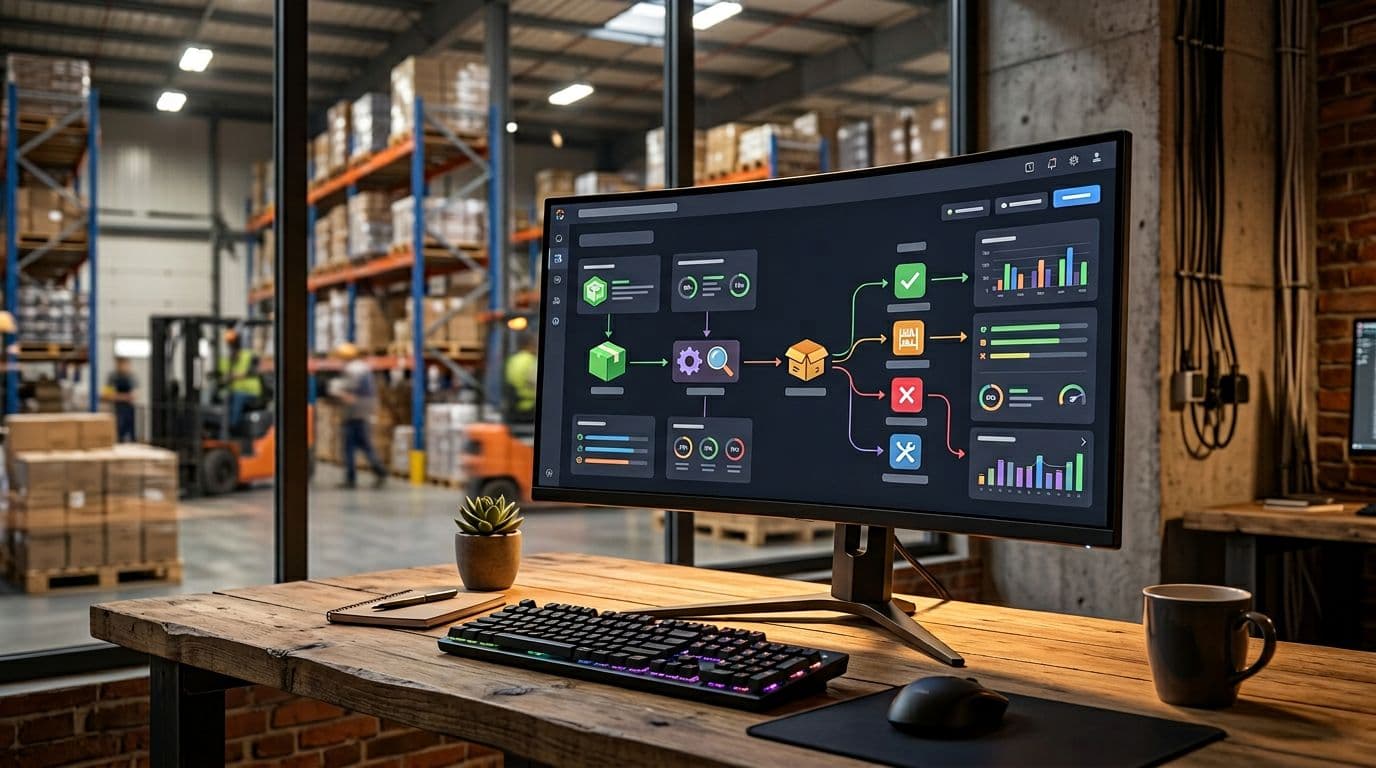
Track the right metrics and tighten the system every month
Reverse Logistics gets expensive when you manage it by vibes. A simple monthly cadence, built on a small set of metrics, helps you spot what is breaking, fix it, and confirm the fix worked. The goal is not more reporting, it is fewer surprises.
Key reverse logistics metrics that actually help you make decisions
If you track everything, you act on nothing. Keep it tight, and make sure each number can trigger a decision.
- Return rate by SKU/category: The percent of shipped units that come back, broken down by product, so you know what to fix or stop pushing.
- Top return reasons: The most common reason codes (fit, damage, not as described) so you can target the root cause instead of guessing.
- Cost per return: The all-in cost to process a single return, so you can see which policies and product types lose money.
- Time to refund: The average time from drop-off (or receipt) to refund issued, because slow money creates complaints.
- Time to restock: The average time from receipt to sellable inventory, because every day stuck is value lost.
- Recovery rate (value recovered): The percent of original item value you get back through restock, resale, or liquidation.
- Exchange rate vs refund rate: The share of returns that end in an exchange instead of a refund, which signals retained revenue.
- Customer support contacts per return: The average tickets, chats, or calls per return, which shows friction and unclear steps.
One rule keeps metrics useful: if a number cannot change a process, don’t track it.
Find the hidden cost drivers: shipping, labor touches, and slow refunds
Cost per return is usually the sum of small leaks. Estimate it with a simple formula you can defend in a meeting:
Real cost per return = label + inbound shipping + handling minutes + packaging + loss in value + disposal
Handling minutes matter because every touch is paid labor. Value loss matters because “sellable later” often turns into markdowns, then write-offs. Even disposal has a cost, whether it is trash fees, recycling, or vendor returns.
Slow refunds add a second tax: support work. When customers do not see movement, they open tickets, then leave bad reviews if they feel ignored. That friction also hits future sales because trust is fragile.
Here’s a round-number example:
- Label + inbound shipping: $9
- Handling time: 12 minutes at $20/hour = $4
- New polybag, tape, insert: $1
- Value loss: item was $50, now resale is $40 = $10
- Disposal for unsellable returns (averaged): $1
Estimated cost per return: $25. Now you can compare that to gross margin and decide when to push exchanges, charge a label fee, or change packaging.
Reduce fraud and abuse without punishing good customers
Return abuse is real, but blanket crackdowns usually backfire. Start by watching patterns that repeat:
- Empty box: Customer sends back packaging with no product inside.
- Wardrobing: Items come back worn (common in apparel and events).
- Frequent bracketing: Repeatedly buying multiple sizes or colors, then returning most of them.
Instead of treating everyone like a suspect, use a simple risk score based on signals you already have: account age, past order history, item value, return frequency, and mismatch between reason codes and inspection results (for example “unworn” but inspection shows wear).
Then apply controls only when risk is high:
- Add fees or remove free returns for repeat high-return accounts.
- Tighten return windows for certain categories or customers.
- Require photo proof for damage or missing-item claims.
- Route to manual review before instant refunds on high-value items.
This keeps the fast lane open for good customers, while slowing down the small group that causes most losses.
Run a monthly returns review meeting with clear owners and next steps
Keep the meeting short, and make it a habit. A lightweight agenda is enough:
- Top returned SKUs and categories (focus on the biggest movers).
- Top return reasons (and which are rising month over month).
- Carrier issues (damage lanes, late scans, problem hubs).
- Warehouse SLA misses (refund delays, restock delays, backlog days).
- Fraud flags (reason code mismatches, high-risk accounts, empty box claims).
- Pick 2 to 3 experiments for next month (one policy, one ops, one CX).
Assign one owner per experiment, with a clear success metric. Also, keep a running log of changes and results, so you stop repeating the same “fix” every quarter. If you run multiple sites, align the same review across locations because inconsistent rules create inconsistent outcomes (see the multi-warehouse management guide for how teams standardize workflows across facilities).
Conclusion
Reverse Logistics works best when you treat returns like a core workflow, not a fire drill. Start with a clear policy that sets expectations and blocks easy abuse, then back it up with a fast flow that keeps customers informed and keeps inventory moving. Next, make smart disposition calls quickly so you protect recovery and avoid “returns limbo” that kills resale value. Finally, measure the same few metrics every month, because steady measurement turns returns into fixes, not recurring problems.
With online return rates averaging about 24.5 percent in 2026, most brands can’t “outwork” the volume, they have to out-design the process.
Thanks for reading, now pick one small change and ship it this week.
7-day next-step checklist
- Tighten policy wording, especially windows, condition rules, and fee triggers.
- Launch or upgrade your self-service returns portal with reason codes and status updates.
- Set a 24 to 48-hour receive-to-restock SLA for sellable items.
- Start tracking cost per return and time to refund, then review weekly.