
Most inventory problems don’t start with bad intent, they start with manual steps. Counting by hand, typing SKU numbers, and jotting notes on paper all create small gaps where mistakes slip in, then those mistakes show up as stockouts, oversells, and time wasted searching for product.
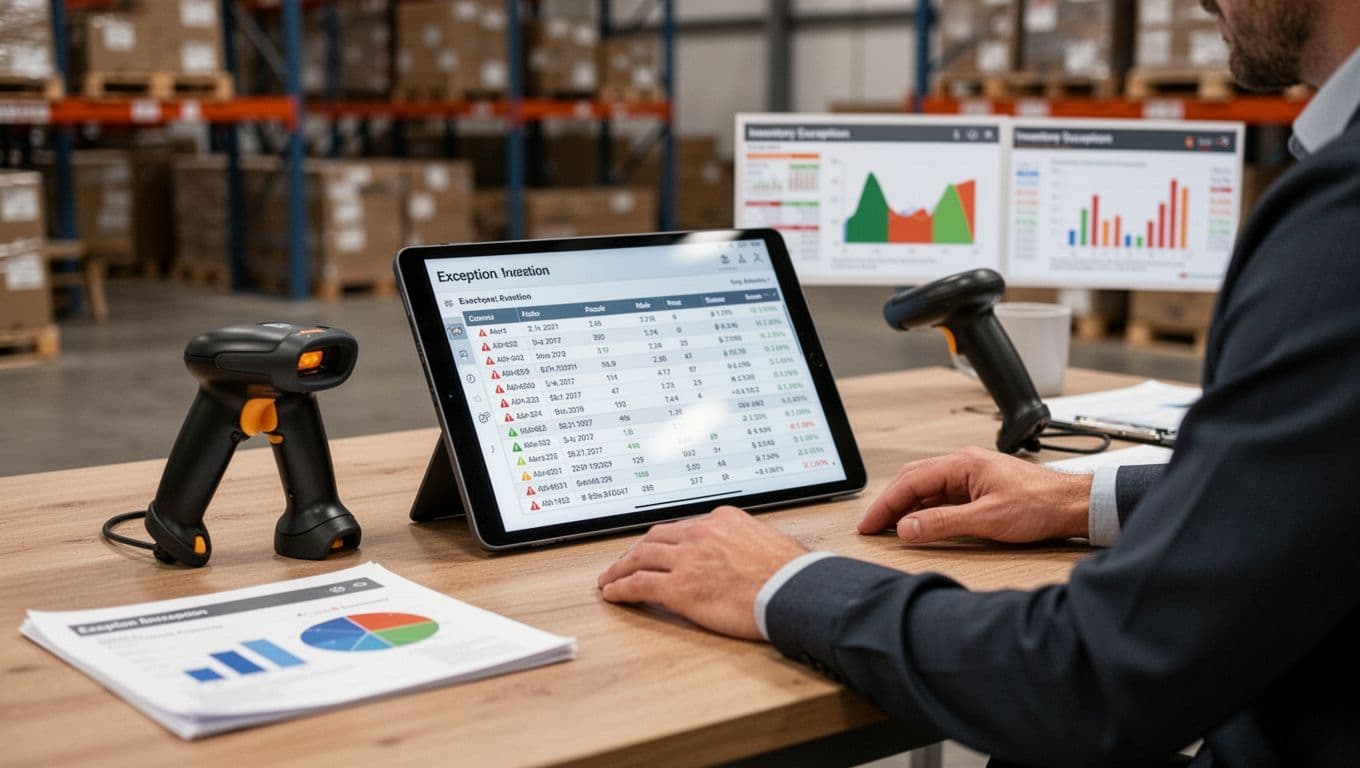
Barcode Scanning fixes that by turning each touch into a quick check. You scan a label, the system matches the item, and counts update right away, so there’s no re-typing and no guessing later. When the workflow is followed, teams can reach accuracy close to 99%, with far fewer “phantom” units in the rack.
In practice, that usually means fewer errors (often up to about 67% fewer mistakes than manual entry), faster picking (around 30% faster), and near real-time stock visibility you can trust during busy days.
This guide shows where inventory errors happen, how to set up scanners and labels, how to run daily receiving, putaway, picking, and cycle counts, plus how to keep accuracy high long term. If you want more background on how scanning fits into a warehouse system, start with https://leanafy.com/barcode-qr-scanning-wms/.
Find the Real Reasons Your Inventory Numbers Are Wrong (Before You Buy Anything)
Barcode Scanning can tighten up inventory fast, but it won’t rescue a process that leaks errors all day. If your system says you have 12 and the shelf holds 7, the scanner only reports what you tell it to scan, when you scan it. So before you buy hardware, find the step where reality splits from your records.
Think of your inventory like a bank balance. Every move is a deposit or a withdrawal. When people skip the “transaction,” your numbers drift, then everything downstream gets messy.
The most common accuracy killers: receiving, putaway, picking, returns, and adjustments

Receiving: One missed case at the dock becomes a permanent gap. For example, a PO shows 24 units, but only 23 get counted because one carton stayed on the truck. The system now “owes” you a unit that never existed.
Putaway: Items land in the wrong bin, so pickers can’t find them where the system says they are. For example, a rush putaway drops SKU A into Bin B. The product is in the building, but it’s invisible when you need it.
Picking: Short picks and “close enough” substitutions break trust quickly. A picker grabs 9 instead of 10, ships it anyway, then tells someone later. The customer gets shorted, and the system still thinks the tenth unit is sitting in the bin.
Returns: Returned goods often sit in limbo. A box hits the returns table, but nobody inspects and transacts it, so it never becomes sellable stock (or it gets restocked when it should be scrapped).
Adjustments: Damage, expiry, and write-offs posted late create phantom stock. If 6 units were crushed last week but the adjustment happens Friday, you spend days planning and picking from inventory that’s already gone.
Every handoff is a chance for a mismatch between physical stock and system stock. Barcode Scanning reduces mistakes, but only if the scan happens at each handoff.
How to measure accuracy the simple way (and why it matters)
You don’t need advanced tools to measure accuracy. You just need a small sample and honest math.
Here are the basics, in plain terms:
- Inventory record accuracy (IRA): How often your system quantity matches what you can count on the shelf.
Formula:(# of SKUs counted with an exact match ÷ total SKUs counted) × 100 - Shrink: Inventory that disappears or becomes unsellable without clean, timely transactions (loss, damage, theft, spoilage).
- Stockouts from bad data: Times you “had stock” in the system but couldn’t fill orders because it wasn’t actually there or wasn’t findable.
- Mispicks: Wrong SKU, wrong lot, wrong size, or wrong quantity shipped.
A fast 15-minute self-audit you can do today:
- Pick 10 active SKUs (top sellers or high-value).
- Count them in their primary pick location.
- Mark each as Match or Mismatch.
- For every mismatch, write the likely source (receiving, putaway, picking, returns, adjustment).
- Tally the top two sources. Those are your first process fixes.
Set this baseline before you roll out Barcode Scanning. Otherwise, you’ll “feel” improvement but struggle to prove it.
Decide what “accurate enough” means for your business

“Accurate enough” depends on order volume, SKU count, and how expensive mistakes are.
A small retail back room might live with occasional mismatches if staff can eyeball shelves quickly. In contrast, a multi-location warehouse needs tighter numbers because transfers, replenishment, and online orders depend on system truth.
Use these practical targets to set expectations:
- Small back room (single location, low SKU count): aim for 97 to 99% on active SKUs.
- Ecommerce or wholesale warehouse (many daily picks): aim for 99%+, especially in pick faces.
- Multi-location operations: target 99%+ plus strong control on transfers and returns.
If you’re far from accurate, don’t boil the ocean. Start where errors hurt most:
- Lock in processes for your top 20% best-selling SKUs first.
- Then expand to high-value, regulated, or expiry-sensitive items.
- Finally, widen to the long tail once the workflow holds.
If you’re deciding where software fits, it helps to understand the differences between WMS and IMS because the right system support depends on how complex your warehouse moves are.
Build a Barcode Scanning Setup That Actually Works in Daily Operations
A Barcode Scanning rollout fails for boring reasons. Labels fall off, SKUs don’t match, people scan the wrong thing, or the scan posts later and no one trusts the count. The fix is to build the setup around daily work, not best-case demos.
Treat your scanning setup like a seatbelt. It only helps if it clicks every time, in the same way, for everyone.
Clean item data first: SKUs, units of measure, and location names

Every scan depends on master data. If item data is messy, Barcode Scanning just moves the mess faster. Start by making sure each sellable or countable thing has one unique SKU. Avoid “close enough” duplicates like ABC-1 and ABC1, or SKUs that change depending on who created the item.
Next, lock down naming rules so humans can sanity-check what the scanner pulled up. Keep item names consistent, with the same order of details (brand, size, color, pack). When a picker scans, the on-screen description should act like a quick gut check.
Units of measure can quietly wreck accuracy. The classic trap is mixing each vs case vs pallet. If your system thinks a “case” is 12 each, but receiving posts it as 1 each, you will chase phantom stock all week. Decide what you will stock, pick, and count in, then document the conversions (and don’t let staff improvise).
Location codes matter just as much. Use a simple pattern like Aisle-Bay-Bin so everyone can find it fast and scan it in the same spot. A location named “Back corner” works until someone else starts calling it “Overflow 2”.
Here’s a quick data cleanup checklist you can copy into a task list:
- SKU uniqueness: One SKU per item variation (size, color, pack).
- Naming standard: Same format, same abbreviations, no random nicknames.
- UOM rules: Define stocking UOM, picking UOM, and conversions (each per case, cases per pallet).
- Barcode mapping: One barcode value maps to one item and UOM (no reuse).
- Location schema: Standard code format (aisle, bay, bin), no duplicates.
- Status hygiene: Inactive items clearly marked, old SKUs not reused.
Pick the right barcode type and label rules for your environment
Barcodes are not one-size-fits-all. In simple terms, 1D barcodes (the classic lines) are great for short IDs and fast scanning at distance. 2D barcodes (like QR or Data Matrix) hold more data and still scan if partially damaged, which helps when labels get scratched.
If you are deciding between them, focus on what you need to encode. If the label only needs an item ID, 1D often works well. If you need more, like lot, serial, or expiry, 2D becomes more attractive. For a deeper comparison, see barcode vs QR code scanning in inventory.
Label rules make or break scan rates:
- Placement: Put the label in the same spot every time, on a flat surface, not wrapped over an edge.
- Ease of access: Face it toward where hands naturally go during pick and putaway.
- Durability: Choose materials that match reality (smudges, moisture, freezer frost, sunlight, abrasion).
- Print quality basics: Use strong contrast and keep the quiet zone clear (the blank space around the barcode). If you crowd it, scanners struggle.
Also label the warehouse, not just the products. Bin, shelf, and pallet positions should have scannable IDs. Otherwise, you can scan the right item and still put it away in the wrong place.
A solid rule: scan location first, then scan item. It creates a simple “scan-verify-confirm” loop that prevents wrong-bin mistakes.
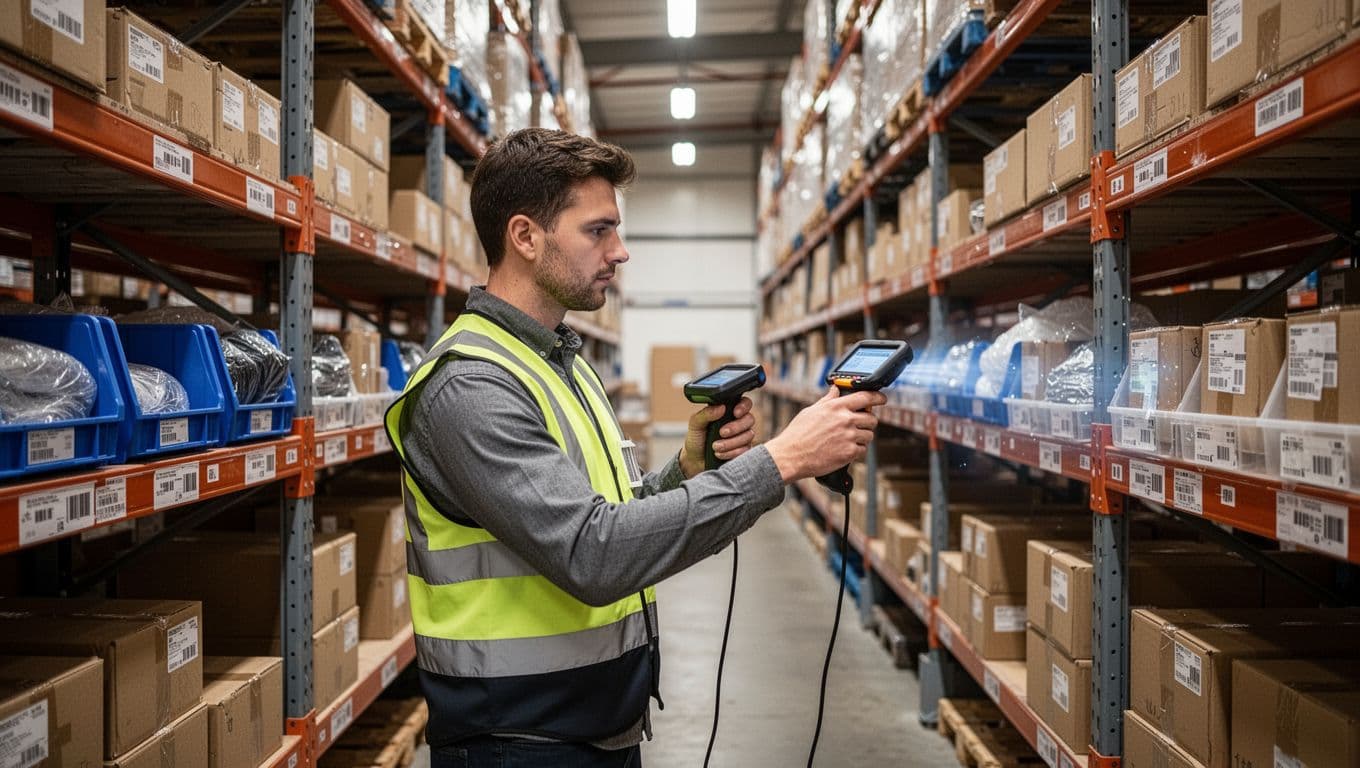
Scanner options and what to choose based on where you work
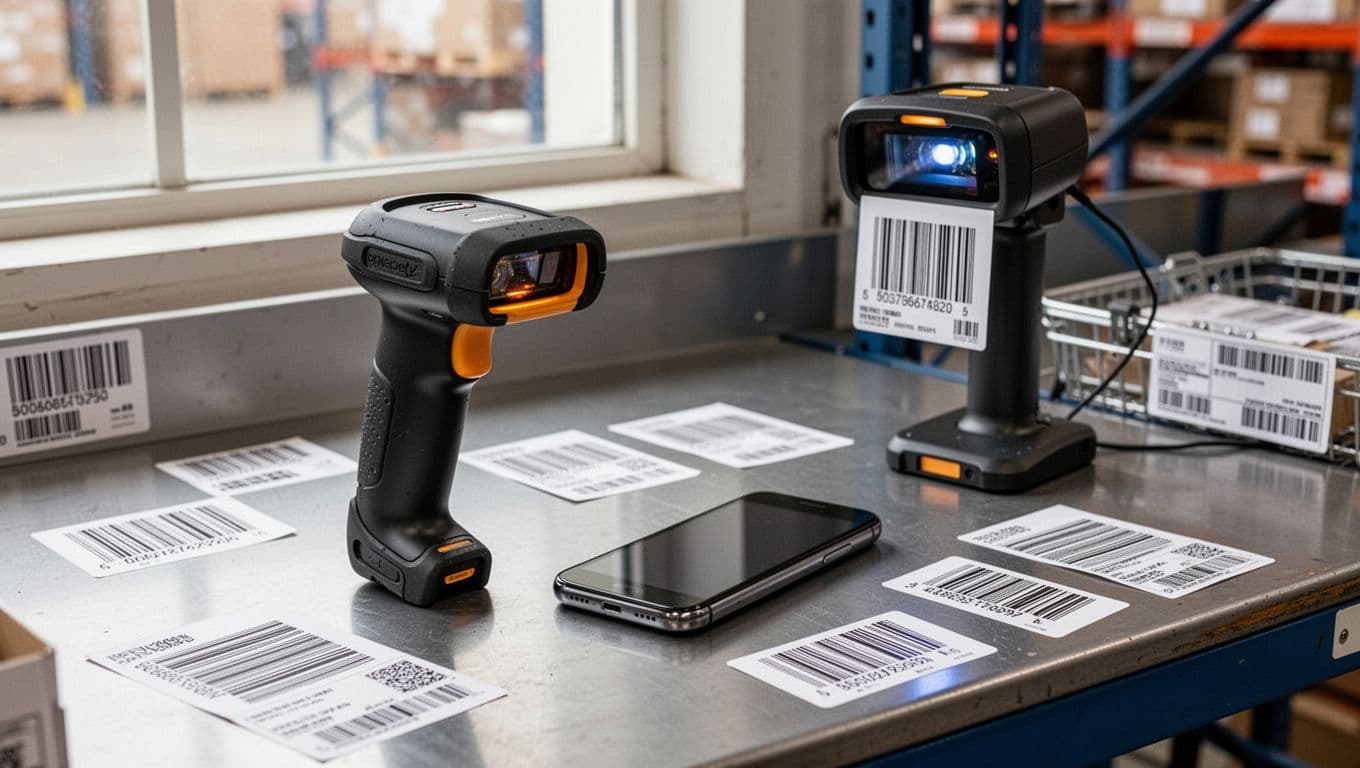
Choosing scanners is really about reducing missed scans and misreads. Match the device to the work zone.
Handheld scanners are a strong default for receiving, putaway, and cycle counts. They are fast, reliable, and easy to train. If your team wears gloves, make sure the trigger and grip work with them. If drops happen (they will), plan for ruggedness.
Mobile phone scanning can work well for low to mid volume, or for managers doing spot checks. It’s convenient and cheap to expand. The risk is inconsistency, because camera scanning depends on lighting, focus, and user habits. If you go this route, standardize how people hold the phone and where labels live.
Rugged mobile computers shine in tough areas: cold rooms, dusty warehouses, or operations with constant drops. They cost more, but they reduce downtime and “scanner doesn’t work” excuses.
Fixed-mount scanners at packing stations help when hands are busy. They speed up pack verification and reduce wrong-item shipments, especially when the packer scans many items per order.
Watch for real-world constraints that tank scan performance:
- Poor lighting in aisles
- Distance scanning needs (high racks)
- WiFi dead zones (scans can’t post)
- Gloves, condensation, and dirty lenses
Connect scanning to inventory software so counts update right away
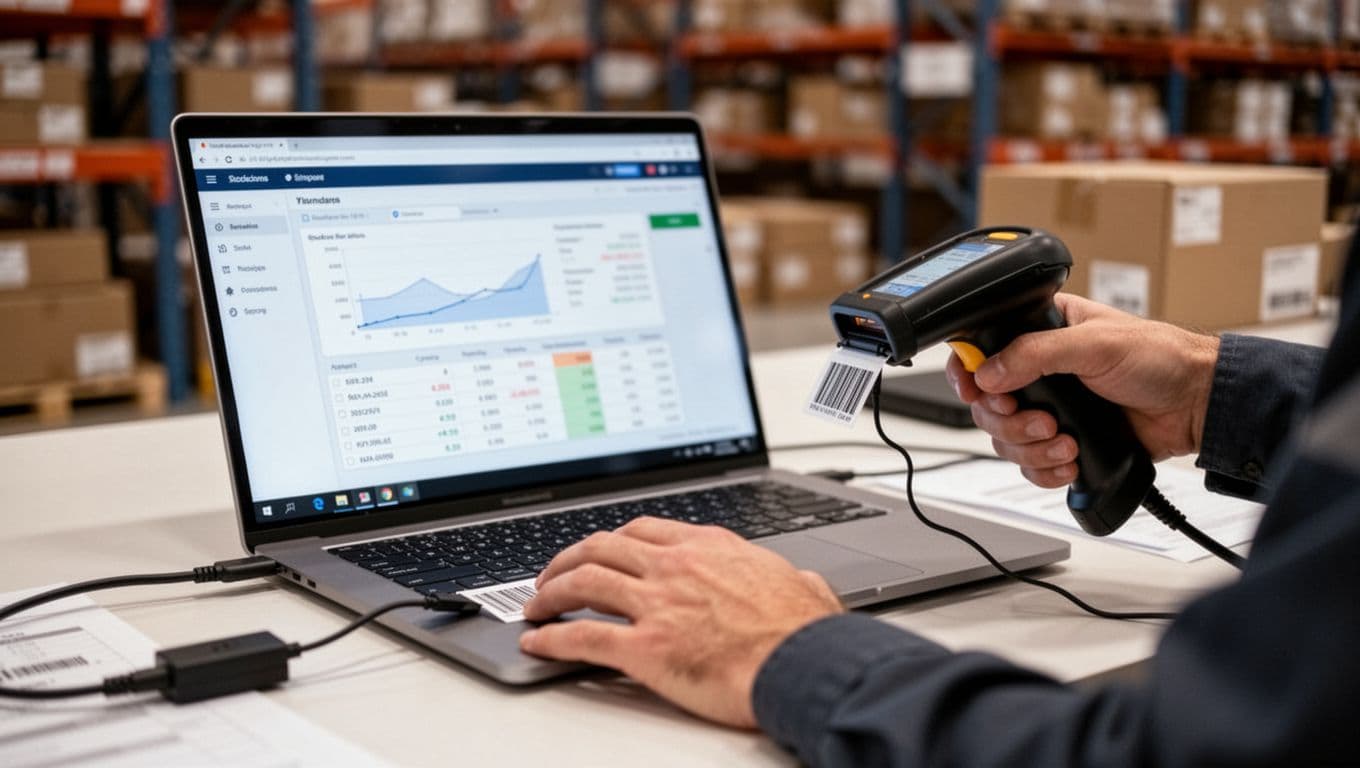
“Real time” should mean this: the scan posts to your system during the task, not at the end of the shift. When updates lag, people stop trusting the numbers, then they create side notes, then accuracy drops again.
Your integration must support the workflows where accuracy is won or lost:
- Receiving (scan, count, and identify what arrived)
- Transfers (location-to-location moves, including replenishment)
- Pick and pack (scan location, then item, then confirm pack)
- Returns (receive back in, decide disposition, restock or write-off)
- Adjustments (damage, expiry, shrink, and corrections with reasons)
Be careful with spreadsheet-based or delayed sync setups. They can look fine on day one, then drift slowly because people forget to upload, map columns wrong, or “fix it later.” Barcode Scanning works best when the inventory system becomes the single source of truth. If you are evaluating software that supports phone scanning and label generation, this overview of barcode-enabled inventory management shows the types of features that help keep counts current.
Make Every Inventory Move Scannable From Dock to Door
If you want inventory accuracy you can trust, you need one simple habit across the floor: every move gets a scan. Barcode Scanning turns each handoff into a checkpoint, so you catch mistakes at the moment they happen, not after orders ship.
A practical rule that works in real warehouses:
Scan required rule: if an item changes state (received, moved, picked, packed, returned, damaged), or changes place (bin, cart, dock, quarantine), it must be scanned before you continue.
When the scanner beeps, you get proof. When it doesn’t, you stop and fix the exception.
Receiving: scan to confirm the right item, the right quantity, at the right time

Receiving is where “wrong forever” starts. So the goal is to confirm identity, quantity, and timing before stock ever hits a shelf.
Use a clean flow that doesn’t invite shortcuts:
- Scan the PO or ASN (if you have one) to pull up the expected lines. This anchors the task to the right supplier and shipment.
- Scan the item barcode on each case or unit to match the correct SKU (and lot or serial, if applicable).
- Count, then scan the quantity as you receive. If you receive in cases but stock in eaches, convert using the system’s unit rules, not mental math.
- Print replacement labels immediately when an item label is torn, faded, or missing. A “fix later” label becomes a “can’t pick it” problem.
- Flag mismatches on the spot (overages, shortages, wrong item). Hold the line and mark it as an exception, because posting bad receiving data poisons every downstream step.
Three quick tips that prevent most receiving errors:
- Similar items: If products look alike (same brand, different size), rely on the scan, then confirm the on-screen description before you accept.
- Partial deliveries: Close the receipt with a clear status (partial vs complete). Don’t “force match” quantities just to finish the task.
- Damaged labels: Keep a printer at or near the dock. If staff must walk across the building to print, labels won’t get replaced.
Putaway and replenishment: scan locations so items do not disappear
Putaway is where inventory gets lost, even though it’s in the building. The fix is boring and powerful: scan location, then scan item, every time (and keep that order consistent).
A simple putaway loop:
- Scan the destination bin location to confirm you’re at the right spot.
- Scan the item you’re placing there.
- Enter or scan the quantity being moved into that location.
If your WMS supports directed putaway, use it. Directed putaway reduces “good enough” choices like tossing everything into overflow. It also helps keep fast movers in accessible locations and prevents mixing SKUs that shouldn’t share a bin.
Replenishment needs the same discipline because it’s easy to fill the wrong pick face when you’re rushing. Trigger replenishment based on min and max levels, pick face empty scans, or system tasks. Then follow one rule: scan the source location, scan the item, scan the destination (forward pick) location. That final destination scan is what stops SKU A from landing in SKU B’s slot.
For warehouses running higher volume or multi-client work, a WMS built around these scan-first moves matters. This overview of the best WMS for 3PL warehouse growth shows what to look for in mobile workflows and location control.
Picking and packing: stop mispicks with scan verification
Picking is where small mistakes turn into returns, refunds, and support tickets. Barcode Scanning prevents most mispicks by forcing a match at the shelf and again at pack out.
A reliable pick and pack sequence:
- Scan the pick location to prove you’re at the right bin.
- Scan the item barcode to confirm the SKU (and lot or serial when needed).
- Confirm the quantity as you pick (don’t “grab and trust”).
- Scan again at the packing station to verify the order contents before sealing the box.
For batch picking and multi-order carts, accuracy depends on one more scan point: scan the tote or cart slot ID before you drop the item in. That keeps orders from mixing when the aisle gets busy. With wave picking, the same scan checks apply, you’re just executing them inside a scheduled group. If you want the planning side, see this breakdown of wave picking.
Substitutions can quietly wreck counts if people improvise. Use a simple, controlled method:
- Only allow substitutions from an approved list (same item family, same client rules).
- At pick, scan the intended SKU first (to trigger the exception), then scan the substitute SKU to record what actually left inventory.
- If no substitute is allowed, short the line and let the system backorder or cancel it cleanly.
Returns, damages, and adjustments: the overlooked workflows that wreck accuracy
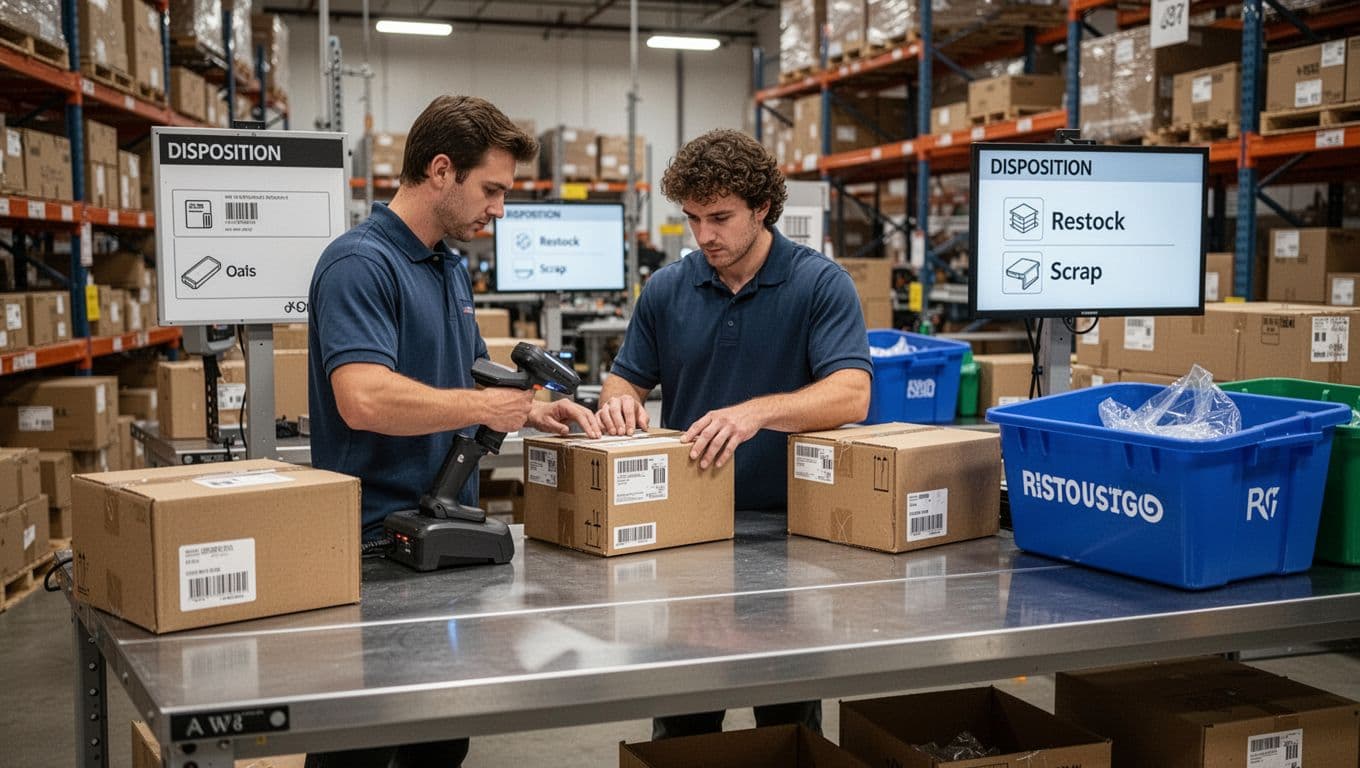
Returns are where “phantom stock” is born. A box sits on a table, someone says “we’ll process it later,” and the system never learns what happened. Meanwhile, customer service sells it, pickers can’t find it, and your counts drift.
Use a strict returns flow:
- Scan the returned item (and the original order if you capture it) to identify the exact SKU.
- Inspect condition right away, then choose a disposition:
- Restock (sellable as-is)
- Refurbish (needs rework before sellable)
- Quarantine (hold for investigation, recall, or compliance)
- Scrap (unsellable, write-off)
- Post the adjustment immediately based on that disposition, then move it to the correct scanned location (restock bin, refurb area, quarantine zone, scrap).
Damages and write-offs follow the same logic: scan the item, pick the reason code, then transact it that day. “Return later” and “adjust later” both create inventory that looks available, but isn’t.
Finally, protect your data during cycle count corrections. Require a reason for adjustments, set thresholds that trigger a supervisor review, and keep an audit trail. One unapproved, rushed adjustment can undo weeks of good Barcode Scanning habits.
Keep Inventory Accuracy High Long Term With Training, Cycle Counts, and Simple Controls
Barcode Scanning can get you to strong accuracy fast, but keeping it there is a different job. After the rollout, the risks change. People rush, labels wear out, and shortcuts sneak in during peak weeks. Long-term accuracy comes from a few clear behaviors, light checks, and quick follow-up when something looks off.
Train for consistency: the few scanning rules everyone must follow

Most teams don’t need a thick SOP. They need five rules that never change, plus quick coaching when someone slips. Think of it like driving, the basics prevent most crashes.
Here are the rules worth enforcing every day:
- Scan at the point of work: Scan where the item moves, not at a desk later.
- No “scan later”: If the scan doesn’t happen, the move didn’t happen.
- Never share logins: Shared accounts hide patterns, and mistakes repeat.
- Fix bad labels on the spot: Reprint or replace immediately, don’t pile up “label issues.”
- Always scan both item and location when moving stock: Location-only moves create ghosts, item-only moves create hide-and-seek.
Coaching new hires and seasonal staff works best in short bursts:
- Do a 10-minute floor walk on day one, then watch them complete three real tasks.
- Use the “say it back” method, ask them to explain the scan order in their own words.
- Pair them with one consistent buddy for the first week, not a different person daily.
If you want one message to repeat: Barcode Scanning is the transaction, not the paperwork.
Cycle counts with scanning: catch drift early without shutting down operations
Cycle counting means you count a small slice of inventory on a schedule, instead of stopping everything for an annual wall-to-wall count. For most warehouses, it’s better because it’s steady, less disruptive, and it catches errors while the trail is still warm.
A simple schedule that works in the real world:
- A items (high-value or high-velocity): weekly
- B items (moderate impact): monthly
- C items (slow movers): quarterly
To scan counts quickly, keep the motion tight: go to the bin, scan location, scan the item(s), enter the counted quantity, then move on. If your system supports it, count the primary pick faces first, because that’s where most pain shows up.
When variances repeat, don’t just adjust and move on. Treat repeats like a leak in a pipe. Look for the root cause, for example mis-scans, mixed bins, broken pack sizes, or receiving posted in the wrong unit of measure.
Use alerts and exception reports to spot problems before customers do
Even with good scanning, stuff goes sideways. That’s why simple alerts matter, they point you to the few SKUs and locations that need attention.
Set up triggers like these (then actually look at them):
- Low stock alerts on active items (before pickers hit zero).
- Negative inventory (a big red flag for missed scans or bad units).
- Repeated adjustments on the same SKU (process problem, not “bad luck”).
- Frequent mispick reasons (training gap, look-alike items, or messy bin setup).
- Locations with high variance (often mixed SKUs, poor labeling, or overflow abuse).
Review exceptions weekly with a tight routine: pick the top 5 issues, assign an owner, and close the loop fast. Typical fixes are simple but effective: relabel, retrain one person or one shift, change bin setup (separate similar items, add dividers), or tweak reorder points (and if you’re buffering demand swings, consider optimizing safety stock levels so you don’t run hot on your best sellers).
Conclusion
Barcode Scanning improves inventory accuracy when the basics are right, clean item data, scannable locations, and a workflow that forces a scan at every handoff. Once receiving, putaway, picking, returns, and adjustments all post in real time, the system starts to match the shelf, not someone’s memory. That is how many warehouses move from rough accuracy levels into the high 90s, and why strong teams aim for about 99.5% when the process sticks.
You don’t have to roll out everything at once. Start small, prove the gain, then expand, because consistency beats fancy tools.
7-day starter plan
- Day 1: Baseline accuracy on 10 to 20 active SKUs.
- Day 2 to 3: Clean top SKUs (SKU, UOM, barcode mapping).
- Day 4: Label key locations (receiving, top pick faces, overflow).
- Day 5 to 6: Pilot scanning for receiving plus picking.
- Day 7: Add a simple weekly cycle count for A items.
If you want a strong system behind those scans, review https://leanafy.com/warehouse-management-3pl/.
Thanks for reading, choose one workflow to make fully scannable this week, then track accuracy daily. Which step causes the most mismatches in your operation right now?