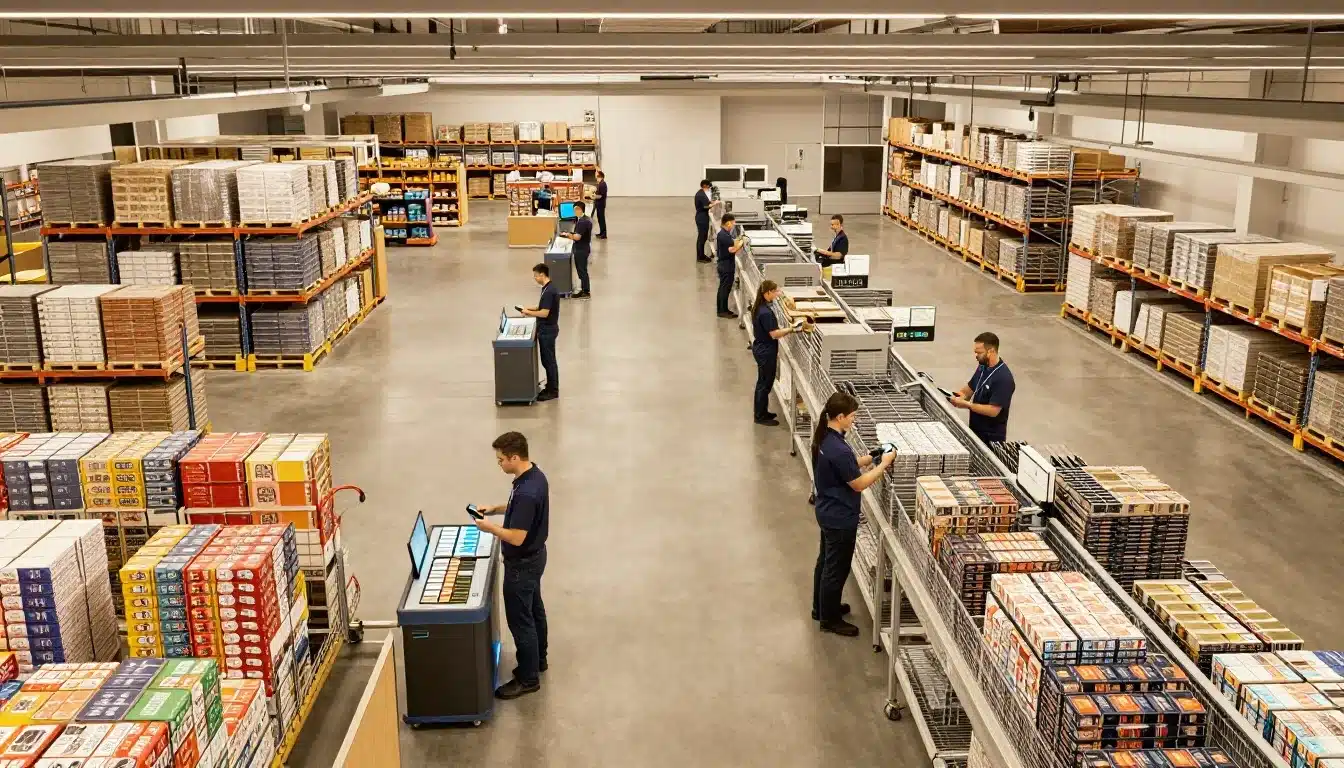
Orders just spiked after lunch, pickers are crisscrossing aisles for single items, and the carrier cutoff is getting too close for comfort. By the time packing starts, everyone’s rushing, and errors creep in.
That’s why picking matters so much. It’s often the biggest time and labor drain in fulfillment, so the method you choose directly affects speed, accuracy, and day-to-day stress on the floor. Even small changes can cut walking, reduce congestion, and help teams hit shipping windows.
In this guide, you’ll get a clear comparison of batch picking, wave picking, and zone picking (plus how they differ from each other in real work). You’ll also see how each one operates, the pros and cons, the best-fit scenarios, and when a hybrid approach makes more sense than picking just one.
If wave schedules and deadlines are your biggest headache, this breakdown of benefits of wave picking for order fulfillment will feel familiar, and it’ll help set up the rest of the comparison.
How batch picking, wave picking, and zone picking work in real life
All three methods aim to fix the same problem in Picking: too much walking, too much waiting, and too many last-minute rushes. The difference is how they organize the work. Batch focuses on fewer trips, wave focuses on timing, and zone focuses on splitting the building into smaller work areas.
Below is what each method looks like on a real floor, from orders to picked items, using the same terms you hear every day (picker, cart, tote, zone, staging, sort).
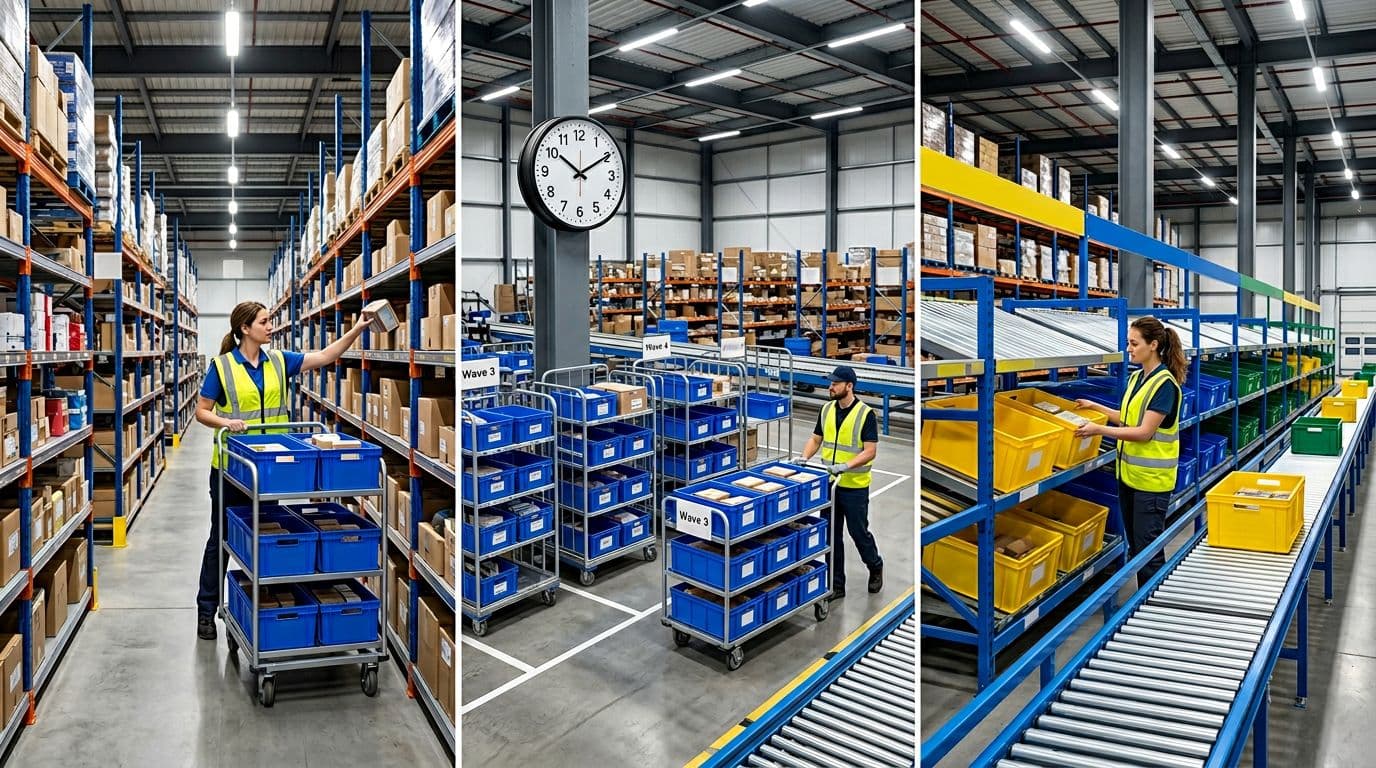
Batch picking, one trip, many orders
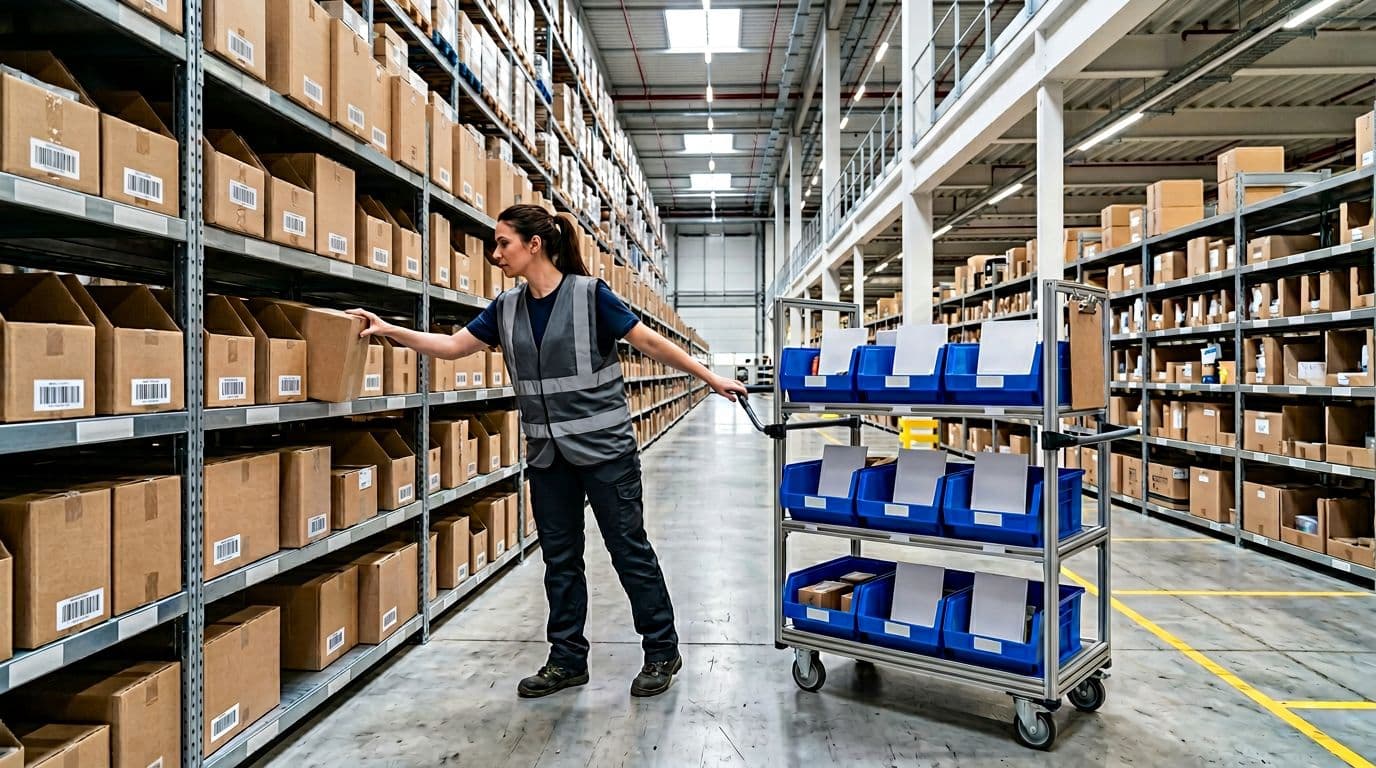
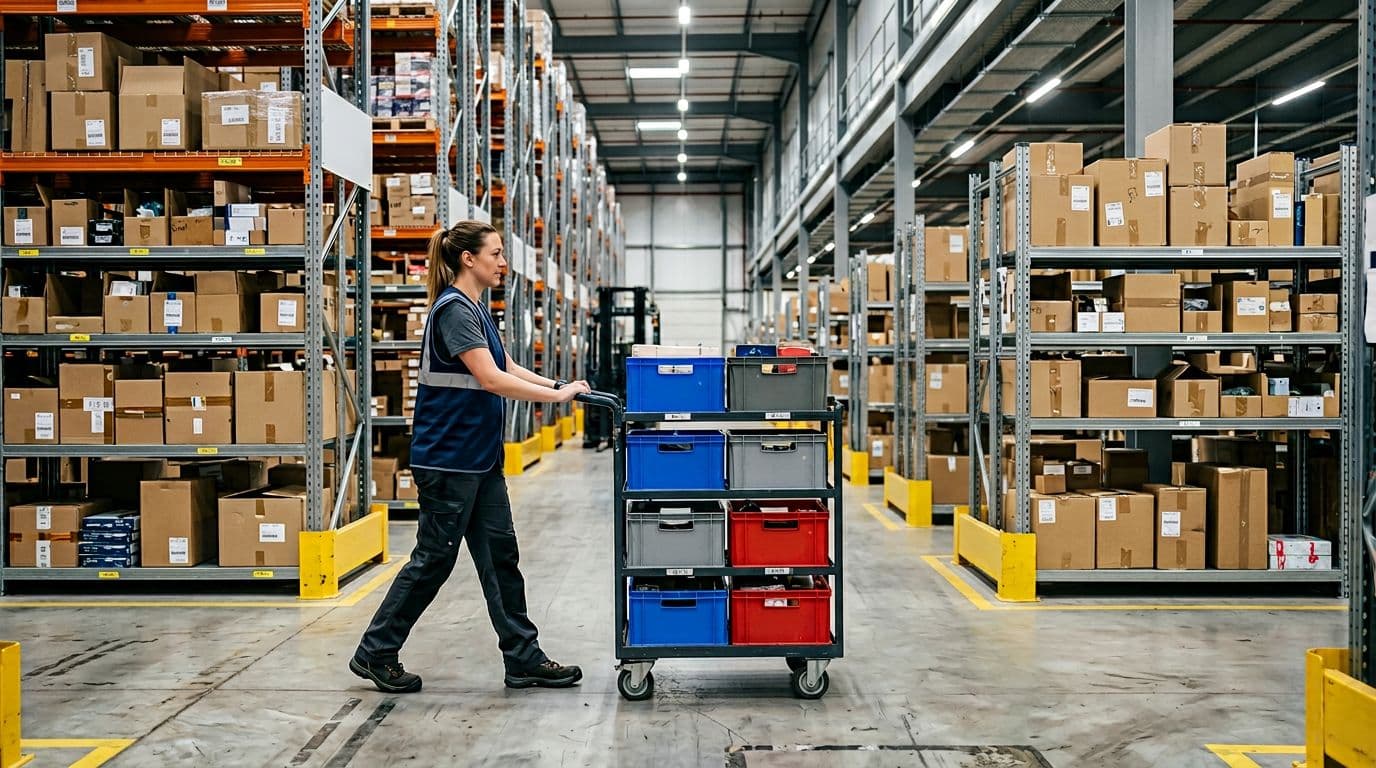
Batch picking means one picker walks the pick path once, but grabs items for multiple orders on the same trip. Instead of visiting Aisle 12 five different times for five different orders, the picker goes once and collects everything needed from that aisle.
To keep orders separate, teams usually use:
- Multiple totes on a cart (one tote per order)
- Dividers inside a tote for smaller orders
- Pick-to-cart setups where each slot location maps to an order
Here’s a simple flow of how it runs:
- Orders drop into the system, then get grouped into a batch (often by SKU overlap or location).
- A picker gets a pick list, then follows a route with a cart and labeled tote positions.
- The picker puts each item into the right tote or divided section.
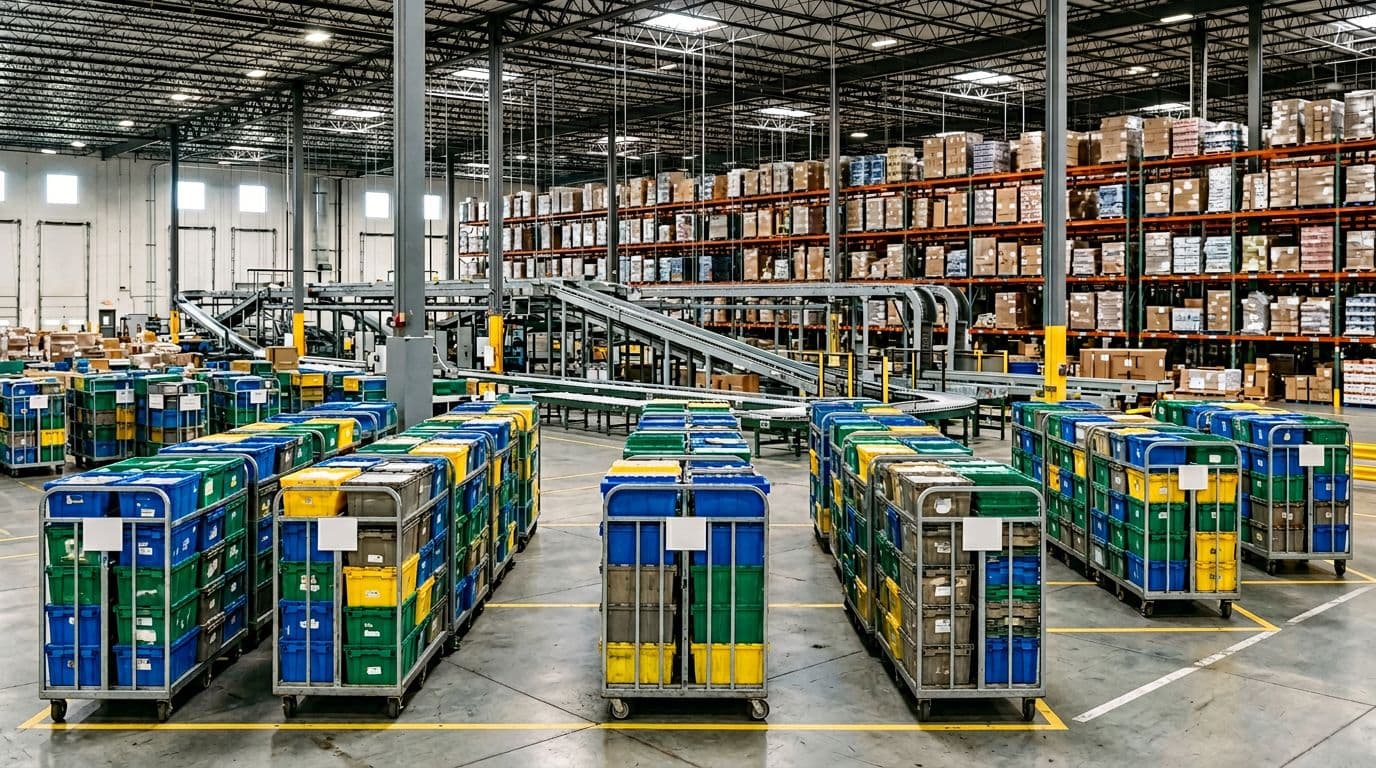
- Finished totes go to staging (ready for pack) or to sort (if picked into a mixed tote).
Sorting can happen during the pick (put-to-order as you go) or after, at a sort station where someone separates items by order. The big win is travel time. In many operations, batch picking cuts walking around 40 to 60 percent versus single-order picking, which matters because walking is time you can’t get back.
Example: A small e-commerce team batches 12 one-line orders, one picker fills 12 totes on one cart, then drops them in staging for packing.
Wave picking, release orders in timed waves to match shipping cutoffs
Wave picking is about when you release work. Instead of letting every order print immediately, you release planned waves at set times, usually tied to carrier cutoffs and labor plans. A morning wave might feed same-day shipping, while an afternoon wave feeds next-day.
Waves are commonly built by:
- Carrier cutoff time
- Route or destination
- Priority (expedite vs standard)
- Order type (single-line, multi-line, B2B, wholesale)
Most waves still use batching inside the wave, because you still want fewer trips. The difference is you control the timing and keep downstream areas steady.
A real-life flow looks like this:
- Orders queue up, then a supervisor releases a wave at a scheduled time.
- Pick tasks drop to pickers (often batched), and they fill totes on carts.
- Completed totes move to staging by wave (so packers work the right cutoff first).
- Packing finishes the wave, then shipping loads it to the right carrier.
One catch is coordination. If a picker falls behind, that delay can ripple into packing, staging space, and the next wave release. When planned well in a busy operation, wave picking often drives 20 to 35 percent more orders per hour, mostly because everyone works the same priority list and packing stays fed.
If waves feel messy, the fix is usually tighter release rules and better routes, not “work faster.” Clean waves depend on predictable staging and clear sort handoffs.
Example: A DC runs a 1:00 pm wave for a 4:30 pm carrier pickup, staging totes by route so packers always work the closest cutoff first.
Zone picking, split the warehouse into zones so pickers specialize
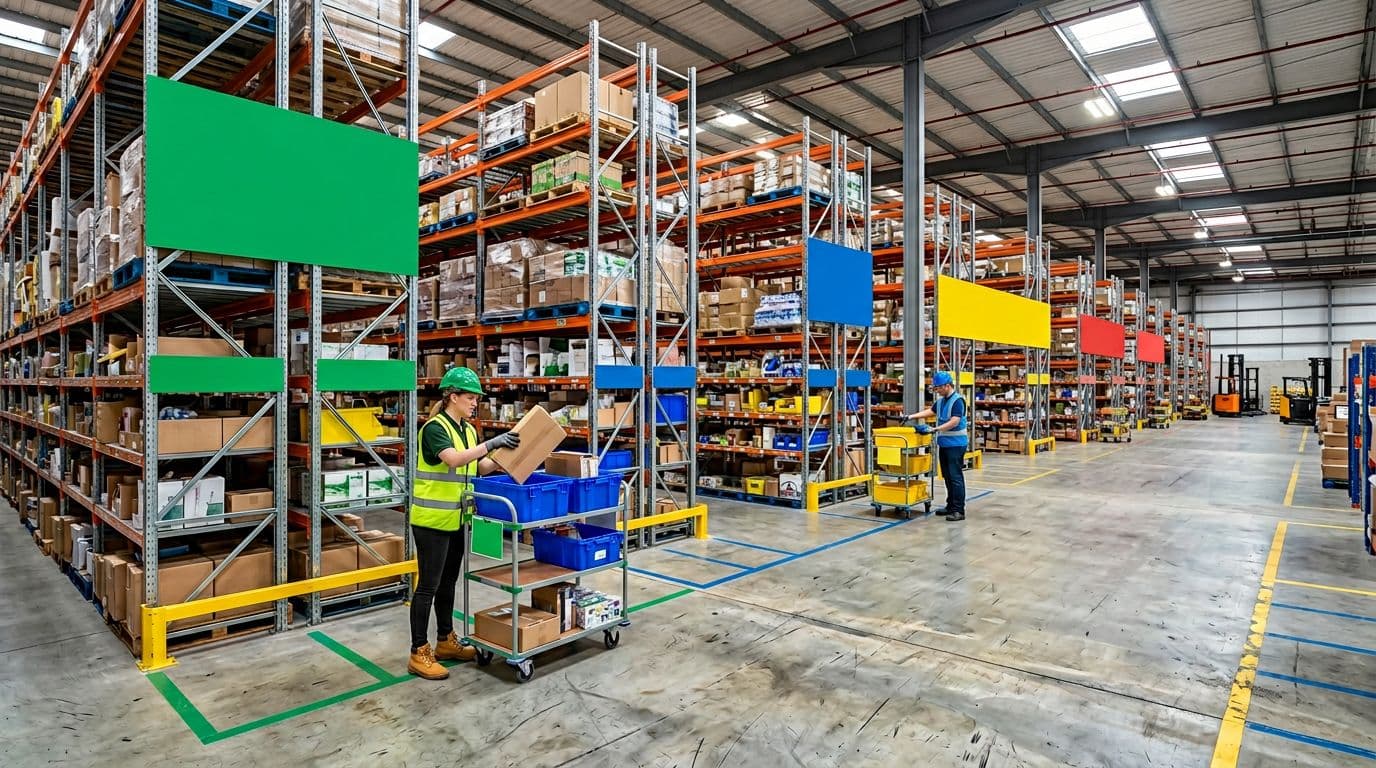
Zone picking splits the warehouse into zones, then keeps each picker assigned to a single area. Zones can be set up by aisle ranges, product families, temperature areas (ambient vs cold), or secure items like high-value electronics.
What changes is the movement of the order. Instead of the picker traveling across the whole building, the tote travels while people stay put.
Typical zone flow:
- An order starts as an empty tote, or a tote tied to an order ID.
- The tote enters Zone 1, and the zone picker adds their items.
- The tote moves to the next zone (cart handoff, conveyor, or tote line).
- After the last zone, the tote goes to staging, then pack and ship.
Because each picker stays local, walking drops per picker and accuracy often improves. People learn their shelves like a grocery cashier learns their keys. Still, you pay for that speed with more handoffs. Moving totes between zones can mean conveyors, more carts, and tighter coordination so one zone doesn’t starve another.
Example: Apparel runs zones by product type, one picker handles shoes, another handles tops, and totes move on a conveyor to staging once all zones add their items.*
The trade-offs that decide which picking method wins
Picking looks simple on paper, but the winner usually comes down to what your operation can tolerate: extra walking, extra handling, or extra planning. Batch, wave, and zone can all work well, yet each one shifts time and risk to a different part of the floor.
Use this section to pressure-test your current Picking setup. If your team keeps saying “we’re busy but not productive,” one of these trade-offs is probably the reason.
Speed and labor, where each method saves (or wastes) time
Most Picking time gets burned in two places: walking time (travel between locations) and handling time (sorting, scanning, staging, and handoffs). The best method is the one that cuts your biggest time drain without creating a new bottleneck.
Batch often wins on walking because one trip collects many orders. In real operations, travel can drop around 40 to 60 percent compared to picking one order at a time. The trade-off is handling. If you pick into mixed totes or use shared carts, you pay that time back in sorting, plus extra touches at pack.
Wave can increase throughput because everyone works the same priorities at the same time. When waves are built well, many teams see about 20 to 35 percent better orders per hour, largely because pack stations stay fed and cutoff work stops getting buried. Still, wave speed depends on planning. Someone has to build waves, monitor progress, and deal with exceptions, which is “invisible labor” until it breaks.
Zone cuts walking per picker because each person stays local. That feels great on the floor, especially in big buildings. However, zone introduces more handoffs, which means more waiting if one zone runs hot and another runs cold. If tote flow is uneven, fast zones sit idle while slow zones choke the line.
If you need help tightening routes regardless of method, these pick path optimization strategies can reduce wasted travel before you change the whole process.
Accuracy and quality, what causes mistakes in each approach
Errors usually come from confusion, not bad intent. Each picking method creates its own “confusion points,” so the controls should match the risk.
Batch mistakes usually show up as order mixing. When a cart holds 8 to 24 orders, one wrong drop into a tote can slip through fast, especially with look-alike SKUs. Clear tote labeling and scanning reduce that risk, but only if everyone follows the same routine every time.
Wave errors tend to come from rush pressure. When a wave falls behind, teams start making “just get it done” decisions, like skipping scans or parking problem orders to fix later. Without solid exception handling, those orders come back to bite you at pack and ship.
Zone errors often happen at handoffs. A tote can miss a zone, get parked in the wrong lane, or move forward incomplete. The farther the tote travels, the more you need reliable order tracking to prove what’s done and what’s missing.
A simple control set that works across all three:
- Scan at pick: Confirm item and location before it goes in the tote.
- Visual tote IDs: Big, easy-to-read tote numbers (and consistent tote positions on carts).
- Pick path standards: One route rule per area so people don’t freestyle.
- Scan at pack: Catch the “wrong tote, right SKU” and “right tote, wrong SKU” problems.
If your accuracy drops during peak, fix the process first. “Be more careful” doesn’t scale.
Congestion, safety, and floor flow, how people and carts move
Picking speed means nothing if aisles turn into traffic jams. Congestion also drives near-misses, product damage, and frustrated associates.
Batch can clog aisles when too many pickers chase the same hot SKUs. If your top movers sit in one aisle, batching can create a parade of carts, especially right after order drops.
Wave can cause surge traffic because a wave release is a starting gun. When 15 pickers hit the floor at once, they collide at the same cross-aisles, replenishment points, and end caps. The wave might look organized on a dashboard, but the floor can feel chaotic.
Zone usually lowers cross-traffic because people stay in place. The bottlenecks shift to handoff points like conveyors, merge tables, and pack lanes. If those spots back up, your zones do not matter, because totes cannot move forward.
Practical ways to keep flow safe and steady:
- Stagger releases: Even 5 to 10 minutes between groups can reduce aisle stacking.
- Spread hot items: Slot fast movers in more than one location when possible.
- One-way aisles: Use them where you can, especially in narrow pick modules.
- Protect handoff zones: Keep transfer areas clear and sized for peak volume, not average days.
Setup cost and planning effort, what you need to run it well
The “best” method also depends on what you can support with your current team, layout, and systems. Many warehouses start with something simple, then layer in control as volume grows.
Batch is usually the cheapest to start. A small team can run it with printed lists and labeled totes. Still, you need sorting discipline and a clean pack process, otherwise your labor savings just move to rework and customer issues.
Wave takes more planning. You need clear release rules, staging space by wave, and someone accountable for keeping the wave healthy. A WMS helps a lot here, but even without heavy automation you can succeed if order priority rules are tight and everyone respects the cutoff plan.
Zone can be simple in concept but harder in execution. Clear zone boundaries, balanced labor, and reliable handoffs matter. Some operations add carts and rack drop points first, then later add conveyors when volume proves the need. If you do not balance zones, one slow area will set the pace for the whole building.
To make the trade-offs easy to scan, here’s a quick decision view:
| Factor | Batch picking | Wave picking | Zone picking |
|---|---|---|---|
| Speed driver | Less walking | Coordinated throughput | Short travel per picker |
| Common time loss | Sorting and rework | Planning and exception firefighting | Waiting at handoffs or slow zones |
| Top error risk | Mixed orders | Rush under cutoff pressure | Missing zone items |
| Congestion risk | Hot SKU aisles | Surge at wave release | Bottlenecks at merge, pack, conveyor |
| Setup effort | Low to medium | Medium to high | Medium (higher if conveyors) |
| Best fit | Similar SKUs, smaller footprints | Tight cutoffs, predictable peaks | Large layouts, specialized areas |
The method “wins” when it matches your real constraint. Cut walking if travel is killing you, control timing if cutoffs run your day, or split space if the building is the problem.
Choose the right picking method for your warehouse, orders, and team
Picking method choice gets easier when you stop debating theory and look at your operation like a load plan. What do orders look like, where does work pile up, and who has to keep the day on track?

A good rule: pick the method that protects your biggest constraint. If walking eats your day, batch or zone usually wins. If shipping deadlines run your day, wave often wins. If the building itself is the problem, zone tends to pay off.
Start with your order profile, line count, SKU overlap, and deadlines
First, pull a week of order history and look for the patterns that drive work. You don’t need perfect data, just direction.
Focus on four signals:
- Average lines per order: Single-line orders behave very differently than 8-line baskets. Single-line volume often rewards batch because grouping saves trips.
- Picks per line: If each line is usually quantity 1, you’re travel-heavy. If lines are often case picks or quantity 6 to 24, handling and replenishment matter more.
- SKU overlap across orders: If the same 50 SKUs show up all day, batch shines because one walk can fill many orders. Low overlap pushes you toward zone (reduce travel) or wave (control priorities).
- Ship cutoffs and promises: Tight pickup times and service-level rules favor wave because release timing keeps packing and shipping focused.
Here’s the mapping that holds up in real Picking work:
- High SKU overlap + lots of small orders: start with batch (then add put-to-order if sorting hurts).
- Strict carrier cutoffs + daily volume swings: default to wave (often with batching inside each wave).
- Large footprint + distinct storage areas: lean toward zone, because splitting travel beats trying to “walk faster.”
If you’re unsure how much travel you can remove before changing methods, review these pick path optimization strategies first. Bad routes can make any method look slow.
Match the method to your layout, small rooms vs long aisles vs multi-temperature
Layout decides how much time you lose just moving. Think of your warehouse like a grocery store. If everything is in one small room, the “route” is short no matter what. If it’s a superstore, travel becomes the job.
Use these layout cues:
- Small footprint, short aisles: batch is often “enough,” because walking is limited and adding handoffs can create extra work.
- Long aisles, wide SKU spread: zone reduces dead walking because people stay in their area.
- Multi-temperature, hazmat, or secure cages: zone helps control access and compliance since only trained staff enter those areas.
One warning that saves a lot of grief: poor slotting makes every method look bad. If fast movers sit far apart, batch carts will zigzag, waves will surge into the same corners, and zones will be unbalanced. Before you blame the Picking method, check basics like hot SKU placement, forward pick locations, and replenishment timing.
If pickers keep “hunting” for product, fix locations and labeling first. Method changes won’t solve chaos.
Pick the approach that fits your staffing reality and training time
Your best method on paper can fail fast if it doesn’t match the team you have. Planning load, training time, and supervision all matter.
- Batch fits smaller teams and faster onboarding. It’s simple to explain, but it depends on clean sorting habits (consistent tote positions, scan discipline, and no “I’ll fix it later” mixing).
- Wave needs a lead who can plan releases, watch progress, and adjust when exceptions hit (short picks, late replenishment, rush orders). Without that, waves turn into panic.
- Zone creates specialists, which can raise accuracy and speed. However, it needs cross-training so breaks, call-outs, and peaks don’t shut down one zone and stall every order.
For labor balancing, watch two things daily: idle time and bottlenecks. If Zone B always stacks totes while Zone A waits, don’t lecture the team. Instead, adjust zone boundaries, move a fast mover, or shift one person for the peak hour. Small changes beat big reorganizations.
Quick recommendations for common warehouse types
These defaults work as a starting point, then you tune from there.
- Small e-commerce with many single-line orders: Base method batch; common hybrid batch + put-to-order sorting at a simple wall or table.
- Fast-moving DTC with strict carrier pickups: Base method wave; common hybrid wave + batch within wave to cut travel while staying on schedule.
- Large facility with thousands of SKUs and long travel: Base method zone; common hybrid zone + wave (release work by cutoff, then pick within zones).
- Mixed B2B and B2C (cases plus small parcels): Base method wave (separate flows); common hybrid wave + zone (case pick zone, each-pick zone).
- Chilled and ambient in one building: Base method zone (by temperature); common hybrid zone + wave to protect cold-chain time and pickup windows.
The best choice is the one your floor can repeat every day, even when volume spikes and someone calls out.
Hybrid picking strategies and 2026 tech that make them faster
Most growing warehouses don’t stick to one Picking method for long. Real floors have hot SKUs, slow zones, carrier cutoffs, and constant replenishment. Hybrids work because they mix the strengths of batch, wave, and zone while limiting the downsides.
The most useful hybrids, batch in zones, wave plus zones, and cluster picking
Batch in zones means each picker stays in their zone, but they still pick multiple orders at once. Picture a grocery shopper who only works one aisle, but fills several baskets in one pass. It shines when your building is big enough for zones, and orders share the same popular SKUs. You cut walking and you also limit order mix-ups because the picker handles fewer locations and fewer handoffs.
The main risk is sorting discipline. If tote positions on the cart are not consistent, errors spike fast. In addition, unbalanced zones can erase gains. One slow zone will still hold up finished orders.
Wave plus zones adds timing to specialization. You release work in waves (by cutoff, route, or priority), then complete each wave through zones. This works best when cutoffs drive your day, but you still want zone experts in cold storage, high-value cages, or fast-pick areas. The wave keeps packing focused, while zones keep travel under control.
What can go wrong? The wave can flood a weak zone. When that happens, totes stack, and everyone else waits. It also fails if replenishment can’t keep up. A wave that hits empty locations creates exceptions, rework, and late shipments.
Cluster picking looks like batch picking, but the cart setup is tighter. Instead of “a batch of orders,” you pick a cluster into a cart with assigned tote slots, and you usually rely on scanning to confirm each drop. It shines with many small orders, especially single-line and two-line orders, because the cart becomes a mobile mini-sorter.
The trade-off is simple: more sorting needs somewhere. Either you sort during the pick (into tote slots) or you sort after (put wall, pack sort, or consolidation). If the cart design or scan workflow is clunky, pickers slow down and accuracy suffers.
Hybrids win when they remove walking without pushing hidden work into sorting, packing, or replenishment.
What to measure to know if your picking change actually worked
New Picking rules can feel faster and still hurt the business. That’s why you need a small set of KPIs that show speed and stability. Track these consistently:
- Picks per labor hour: Total picks divided by direct picking hours, your core productivity number.
- Travel time (or steps): Minutes walking, or steps per pick, to prove you actually cut movement.
- Order cycle time: Time from order release to “ready to pack” (or shipped), end-to-end impact.
- On-time ship rate: Percent shipped before the promised cutoff, the scorecard that matters.
- Mis-picks and returns: Wrong item, wrong quantity, wrong variant, plus customer returns tied to errors.
- Congestion incidents: Aisle backups, blocked cross-aisles, near-misses, or “we had to reroute” events.
- Rework: Picks that needed second touches, short-pick resolution, re-pack, or re-pick.
Run a 2-week baseline first, using your current process. Then run a controlled test for the next 2 weeks (same shift pattern if you can). Keep everything else steady: slotting, staffing, and pack rules. If you change three things at once, you’ll never know what helped.
Also, protect the downstream steps. Gains disappear when packing stations can’t absorb the flow or replenishment can’t keep forward picks full. If picking gets faster, those areas must be ready.
2026 tools that improve picking without a full rebuild
You can get real speed gains without ripping out racking or installing a huge conveyor. The best 2026 upgrades tend to be modular and software-driven, so you can start small.
Start with WMS wave-release rules. Better release logic reduces floor spikes and keeps pack fed. Many teams now use dynamic wave planning, where the system adjusts releases based on real-time order volume, station capacity, and exceptions. In practice, that means fewer “all at once” dumps and fewer mid-wave fire drills.
Next, tighten slotting optimization. Simple slotting changes can beat a method change. Move fast movers closer, separate look-alike items, and protect forward pick locations with min-max triggers. Even basic re-slotting based on last 30 days of picks can cut travel quickly.
Accuracy tools still pay back fast:
- Barcode scanning at pick and at pack reduces mis-picks, especially in batch and cluster work.
- Pick-to-light fits best in fast zones (small parts, cosmetics, accessories) where speed comes from instant location confirmation.
- Voice picking helps when hands are busy (case pick, pallet pick, or high-frequency each pick). It also supports consistent workflows for new hires.
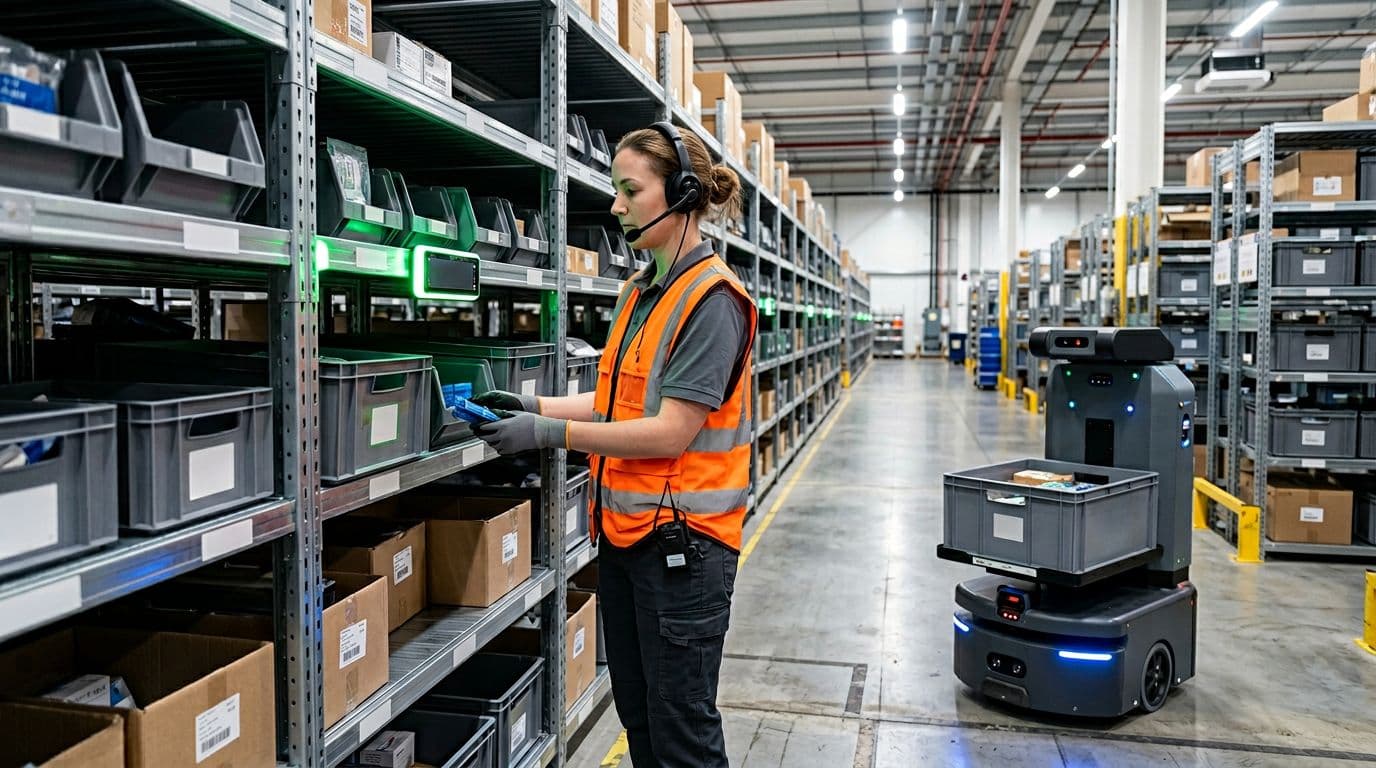
Finally, consider AMRs (autonomous mobile robots) even if you keep the same picking method. AMRs can move totes, carts, or shelves so pickers walk less. That pairs well with zones (robots handle handoffs) and with cluster picking (robots swap full and empty carts). If you’re ready for deeper automation later, modular AS/RS can also support goods-to-person for high-density SKUs, without rebuilding the whole building on day one.
Conclusion
Batch Picking wins when travel time is the enemy, because one trip can fill many orders. Wave Picking wins when deadlines rule the day, because timed releases keep picking, packing, and shipping aligned. Zone Picking wins when the building is the problem, because specialists stay put and the tote moves.
Still, there’s no universal best method. The right setup matches your order mix, cutoff times, layout, and the way your team actually works. Most operations also end up with a hybrid, such as batching inside zones or waving work by cutoff while zones handle special areas.
Next, keep it simple and prove it with data. Pull 30 days of order history, then walk the floor to spot travel waste and bottlenecks. Choose one pilot (batch, wave, zone, or a hybrid), measure picks per hour, travel time, mis-picks, and on-time ship rate, then scale what holds up under pressure. Above all, protect repeatability, the best Picking process is the one your team can run cleanly every day.